This brief article will help you get ‘cpufetch‘ installed and running. cpufetch is like neofetch, except it’s for your CPU. It’s probably not the greatest information-gathering tool, but it is kind of neat and worth playing with for a little while.
Basically, it’s like neofetch but for your CPU. All-in-all, it’s not the most useful tool. What it is, is interesting – or at least I think so. I saw it on a Reddit post a few days ago and decided to play around with it. I liked it well enough to write this article.
When I check the cpufetch man page, cpufetch describes itself as this:
Simple yet fancy CPU architecture fetching tool
That seems to be an accurate description and that’s good enough for me! You’re not going to be doing a whole lot with it, but it is fun to play with. It simply outputs CPU data formatted to look a lot like neofetch and that’s all it does. In fact, it outputs data that looks like this:
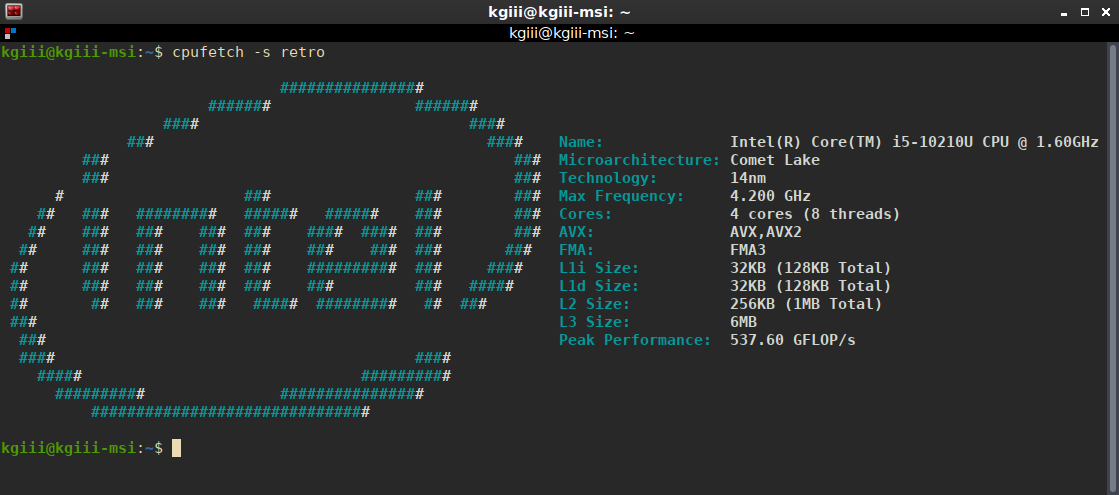
So, yeah, that’s all it does. As you can see, I used the -s switch with retro to change the styling. You probably won’t be too interested in anything beyond that, which is fine. After all, this article is really about just having fun.
Using cpufetch:
Well, first you’re gonna need cpufetch if you want to use it. So, you should probably do that first! There’s a chance that it’s already packaged for you, and you can check that at this link. If there’s a package for you, go ahead and install it like you normally would. Otherwise, you’re going to need to build it.
Building it isn’t too hard and I had no issues doing so a couple of times on different systems. The directions are right there on the GitHub page, but I’ll recreate them here:
1 2 3 4 | git clone https://github.com/Dr-Noob/cpufetch cd cpufetch make ./cpufetch |
You can, of course, copy the built ‘cpufetch’ file anywhere you want. You can use the following command to make it so that you can use the program from anywhere you want.
1 | sudo mv ./cpufetch /usr/bin |
Having crammed it into /usr/bin means it’s accessible even when you’re in a different directory. You can just run ‘cpufetch’ and it’ll work.
Speaking of which, that’s all you need to do to run it. You just use:
1 | cpufetch |
However, you can go one step further and install it. This isn’t listed on the GitHub page, but you can actually install it to have a man page entry for it and the likes. To do that, instead of moving the cpufetch binary like above, you just tell make to install it. It looks like this:
1 | sudo make install |
With that command, it’ll be fully installed and run just like any other application that runs in the terminal. And, as mentioned, it even adds the man page so you can use that. That’s probably a better option than just stopping at the ‘make’ directions from GitHub.
The way the output is formatted takes up quite a bit of space, so it’s prettier if you make your terminal large enough to fit the formatted output. You can also check the man page to learn the few other options. From the few other options, I’ve decided that I prefer the retro style. To do that, it’s simply:
1 | cpufetch -s retro |
I found the formatting much nicer with the retro logo applied. You do you and decide which one you like best as you play with your new toy. It’s merely a matter of taste.
Closure:
And that’s it for today. You’re probably not going to need cpufetch in your day-to-day operations. In fact, there are better tools than cpufetch – and they’ll give you far more information about your CPU. In this case, I don’t think that matters. It’s just a fun way to see some of the information about your CPU in the terminal. It’s perfectly okay to just have fun!
As always, thanks for reading! Thanks for the feedback! The traffic has slowed down, which is fine by me. If you’re interested in helping, you can donate, write an article, buy cheap hosting, register to help, scroll down and vote or sign up for the newsletter down there, or you can leave feedback in the comments! Any/all of those are truly appreciated and either help keep me motivated, show me what you like, or help the site stay up and running. Until next time…
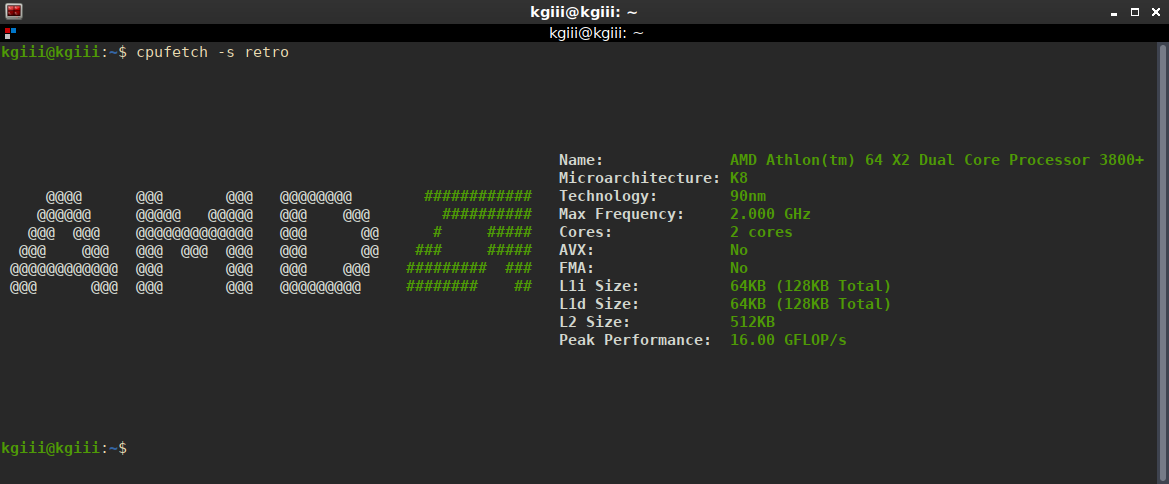
EDIT:
I found an ancient AMD box to try it on, just so I could generate the AMD graphics. It took a bit to remember I had that old computer, but it looks like this: