Today’s article is a fun one, where we’ll learn how to password protect a file using something called GPG. It’s not complicated. You can learn how to password protect a file in just a few minutes. You can then send these files out and other people can decrypt them – assuming you’ve shared the password with them.
We all have secrets. They’re not all digital, but they could be. We may also want to be able to share files that have private information in them, meaning you only want people with the password to open it. Though, I suppose, brute force is always an option – but you can at least make it difficult by using a complex password, preferably one that you didn’t generate yourself.
So, what is GPG? GPG stands for “GNU Privacy Guard”. It’s fairly standard and used quite a bit. There are other applications, like PGP, but I think all of you folks that use a ‘full’ distro will have GPG installed by default. It’s one of those tools that you might not use all that often, but it seems to be included by default in a lot of places. I suspect that’s because other things rely on GPG, but I’m way too lazy inept to look that up.
By the way, the GPG man page describes it as:
gpg – OpenPGP encryption and signing tool
That GPG is what we’re going to be using for this exercise. Trust me, it’s easier than you might think.
Password Protect A File:
Do I have to mention it? Of course I do! It’s time for your favorite thing, an open terminal ready for your commands. You can open your default terminal by pressing
With your terminal now open, the command to password protect a file would be:
1 | gpg -c /path/to/file |
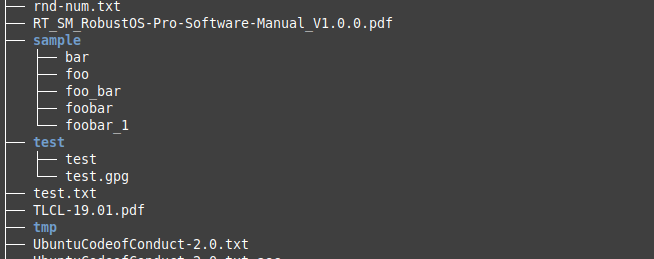
The -c flag stands for encryption. It should then ask you for a password, that you’ll need to enter twice, and then it will make an encrypted copy of the file with a .gpg extension. The original file will still exist, so this isn’t encrypting that original file. It’s making an encrypted copy and you’ll want to safely delete the original file if that’s your intention.
Now, to open the new <file_name>.gpg file, you’ll need to use the following command:
1 | gpg <file_name>.gpg |
Now, when I went to open that with the same computer and the same session it didn’t ask for a password. I shipped it to another computer and it did just that. I do not know why.
When you successfully open the password protected file, it will ask you if you want to overwrite the original. This shouldn’t happen when you ship it to someone else unless they happen to already have a file with that specific name. It also will let you say don’t want to overwrite the file and let you pick a new file name for the unencrypted content.
Closure:
You can actually do this with a folder if you’d prefer. It’s just specifying a folder instead of a file. The process is exactly the same. So, like I said in the start, it’s a really easy task to password protect a file. The terminal is useful for all sorts of stuff.
Thanks for reading! If you want to help, or if the site has helped you, you can donate, register to help, write an article, or buy inexpensive hosting to start your own site. If you scroll down, you can sign up for the newsletter, vote for the article, and comment.