In today’s article we’re going to do what the title says, we’re going to learn a little about the ‘lscpu’ command. We’ll just touch the ways you’re likely to use ‘lscpu’ and that’s it. Then again, there’s not much more to it than that, so it’s going to be easy enough for a new Linux user to understand. You’re invited to read on…
As mentioned in the last article, and in the article before that, I’m going to take some time to cover some of the basic commands. However, I’m going to try to intersperse them, that is mix them up a bit, so that it’s not too boring for myself and my regular readers who are beyond this level.
The first of these articles was:
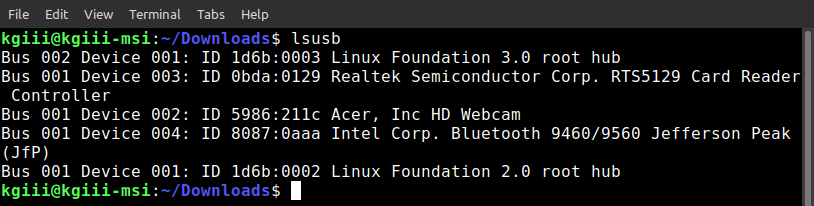
A Little About The ‘lsusb’ Command.
This article will cover ‘lscpu’. If it’s not obvious, this command will list information about your CPU. In fact, the man page describes ‘lscpu’ like:
lscpu – display information about the CPU architecture
And, sure enough, that’s the information we’re after in this article.
Of course, this is another command that gets run in the terminal. It’s an application that comes with ‘util-linux’ and is something you shouldn’t need to install. You should be able to use the ‘lscpu’ command without installing anything. So, there’s that…
Rather than drag the intro out, let’s just jump into it…
About The ‘lscpu’ Command:
As I mentioned in the intro, ‘lscpu’ is a terminal command. Of course, this means you need an open terminal. You should open one now. If you don’t know how to open your terminal, just press
With your terminal now open, simply run the ‘lscpu’ command:
1 | lscpu |
Tada! You have all the information you really need to know about your CPU – and quite a bit more information. So, let’s see what else we can do with the ‘lscpu’ command.
Let’s say you want some extended information. You can go about that with the -e flag. That’s easy enough to do, a simple command. It looks like this:
1 | lscpu -e |
The outcome from that command would probably look a bit like:
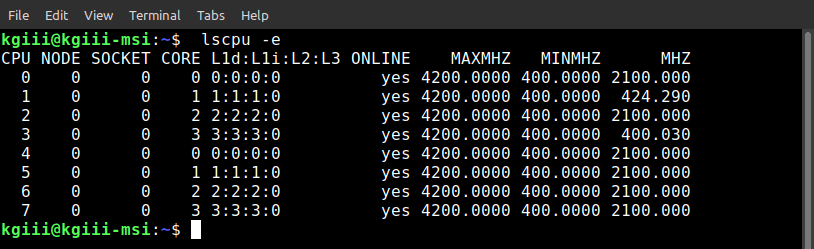
As you can see, there’s nothing too fancy there.
You can actually select the fields you want to output from that command. For example, you can see the CPU and the CORE fields like this:
1 | lscpu -e=cpu,core |
The only other way you’re going to use ‘lscpu’ is likely to be with grep. For example, if you want to know what architecture your CPU supports, you can run this command:
1 | lscpu | grep Architecture |
There’s more to ‘lscpu’, but you’re not likely to really need it for anything. If you do need more from ‘lscpu’, you just check the man page like so:
1 | man lscpu |
The man page should help you with anything more than what’s covered in this article. There’s not all that much more that’s useful, we’ve at least examined the ‘lscpu’ command.
Closure:
Yup, there’s another article. This article does what it attempted to do – which is share the most useful ways to use the ‘lscpu’. If you find yourself in a position where you need fairly detailed CPU commands, then ‘lscpu’ is the command you’re looking for.
Thanks for reading! If you want to help, or if the site has helped you, you can donate, register to help, write an article, or buy inexpensive hosting to start your own site. If you scroll down, you can sign up for the newsletter, vote for the article, and comment.