Today’s article is about how you can create and enable a swapfile. It largely ignores the debate about whether a swapfile is needed or not, though I make it clear that this is something I prefer. I know that others will have different views, but I also make it clear why I enable it.
A swapfile, or swap partition, isn’t just where the OS crams stuff when it has run out of RAM. It’s more complicated than that. Sometimes, the OS knows where it wants to store cached items and prefers the swap partition or swap file. The OS can put items in swap while freeing up RAM for other bits that need caching.
To make it abundantly clear, you absolutely can use Linux without a swapfile. You can also use Linux with a swapfile. If you want to enable a swapfile, read on. I’ll touch on this a little bit later in the article.
Some Swapfile Background:
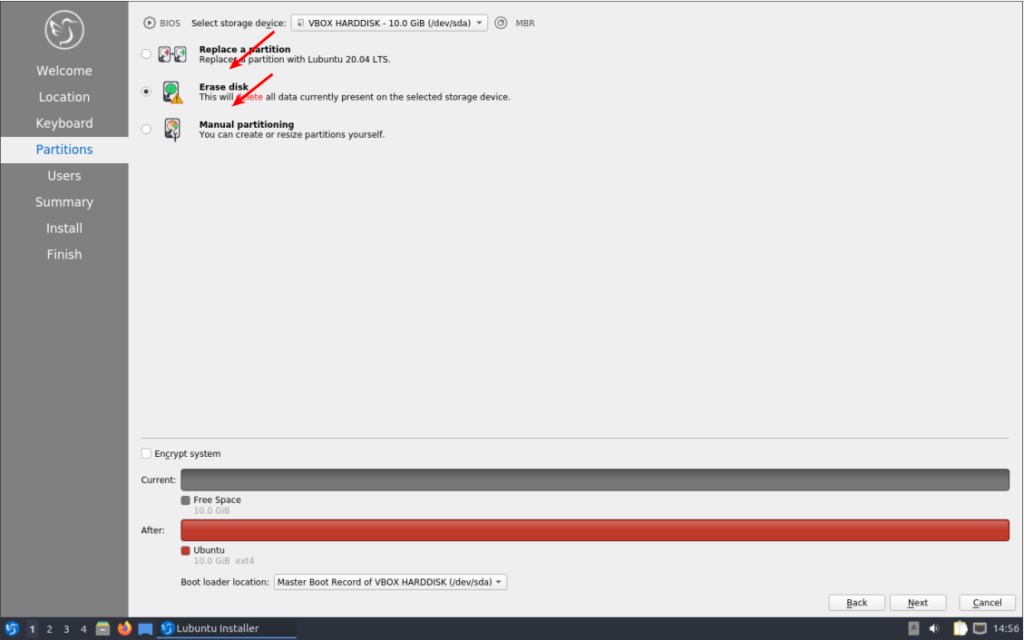
I have a modern, large SSD and more RAM than I’ll ever possibly use. I still want to use swap, in this case a swapfile. Imagine my dismay when I installed Lubuntu 20.04 and found there’s no swapfile available during the basic installation? (It’s there in 21.04 and proceeding versions.)

I could have manually made a swap partition during installation, but that didn’t seem like something I wanted to do – and messing with manual partitioning can be tiresome and tedious. I knew I could enable a swapfile later, which is what I did.
Again, trying to avoid the debate – just sharing my reasoning; I have ample disk space and storage is cheap. If it has any chance of helping, it’s a small investment. I should also mention that swap is far more complicated than ‘a place where the kernel sticks stuff when there’s no more RAM left’. In fact, it’s a lot more complicated than that. It’s where the kernel pages content that’s seldom used, and it’ll happily use swap even when there’s plenty of RAM available.
Since the option to enable a swapfile isn’t there during the installation, we might as well learn how to add a swapfile to Ubuntu. It’s a pretty painless process.
Is Swap Already Enabled?
You should first check to see if you already have swap enabled. The process is the same with both a swap partition and a swapfile. To check we first need to open your terminal emulator. You can do that by pressing
Now, let’s check to see if you’ve already got some swap going on.
1 | swapon --show |
If the output of that command shows nothing but a new line, you have no swap. If it says anything else, you’ve got swap enabled already and this article is not one you need to read. As this article is only about a swapfile, it won’t be helpful for questions about a swap partition. This article also won’t tell you how to resize your swapfile, though you could put some pieces together and figure it out for yourself.
Let’s Make A Swapfile:
Seeing as you already have your terminal open from the previous step, you can just leave it open. That’ll make this easier. Start with this first command and work your way through the article – making sure to not skip any steps.
1 | sudo fallocate -l 8G /swapfile |
Why 8 gigabytes when I have ample RAM and an SSD? Because I don’t want to worry about it ever it again. I should be able to open up every app I have and leave them open for a month. You do you and decide how big you want it to be!
Now that we’ve allocated space for the swapfile, we need to set some permissions. We don’t want anyone and their kid brother writing to swap, we only want root writing to swap.
1 | sudo chmod 600 /swapfile |
Next, we need to let the OS know that’s swap space, to be used as a swapfile.
1 | sudo mkswap /swapfile |
Then you turn it on with:
1 | sudo swapon /swapfile |
And you now have swap in the form of a swapfile and it’s turned on.
Permanently Enable A Swapfile:
I suppose we should make this change permanent, as it’d be an unneeded step to have to do it every time the system reboots. To make this permanent, we need to edit fstab and nano is a good tool for this.
1 | sudo nano /etc/fstab |
And add this at the bottom of that document:
1 | /swapfile none swap sw 0 0 |
Those are 0, the digit, in case the font here makes it confusing. And seeing as we’re using nano, you save your by pressing
At the end of this exercise, you should have a swapfile that gets loaded on reboot. You shouldn’t even have to reboot for it to effect, it should already be currently loaded and working. You can next edit the swappiness value, if that’s something you feel like you want to do – or have a reason to do. In Ubuntu, it is a default of 60. If you want to edit it, you’ll have to wait for another article.
Closure:
There you have it! We’re on the downhill side of this project and it’s an article about how you enable a swapfile. If you don’t use swap, that’s fine. This article is for those who do want to use swap.
Thanks for reading! If you want to help, or if the site has helped you, you can donate, register to help, write an article, or buy inexpensive hosting to start your own site. If you scroll down, you can sign up for the newsletter, vote for the article, and comment.
Last Updated on October 20, 2021 by KGIII