Today’s article should be fairly simple and is about something we all use because it’s about how to make passwords in the Linux terminal. Assuming my writing chops are up for it, this article should be easy for everyone to follow. I’ll do my best. It might not even be a very long article.
I don’t think I need to explain passwords to any modern computer user. Even mobile users use passwords. The rare people who don’t use this technology will likely still use a PIN for things like their ATMs and credit cards. A PIN is just a numeric password.
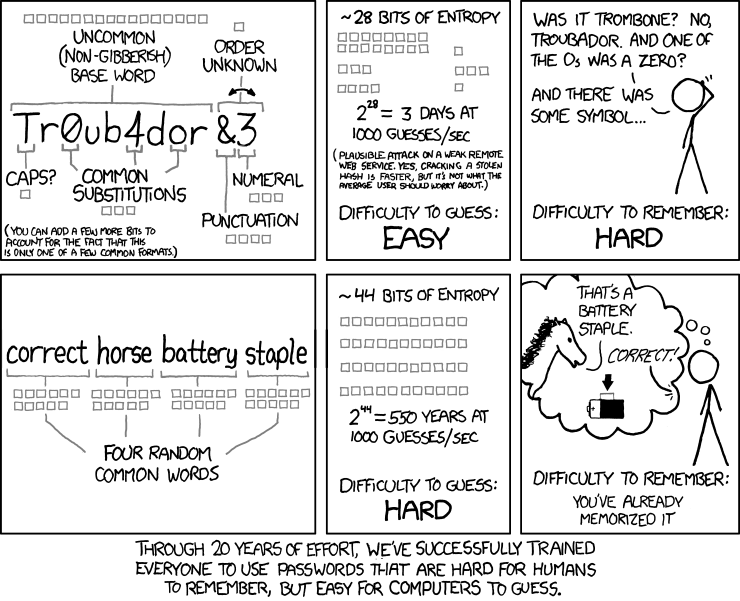
I think it’s safe to say that we all know what a password is and why we use one. I’m not sure we all understand how to create good passwords, but we all use them. Perhaps this xkcd comic will amuse you:
I have written about passwords in the past. One of the first articles on this site was about generating complex passwords. Here’s a link:
How To: Generate Sufficiently Complex Passwords In The Terminal
There isn’t much to add about passwords. It’s safe to assume we’re on the same page and that we’ve all used many passwords in our lives. I guess it’s then time to move along to the software we’ll be using to generate passwords in the Linux terminal.
Installing makepasswd:
In a previous article, we made complex passwords (with some degree of randomness) in the Linux terminal with a tool known as ‘pwgen’. You’ll find that pwgen is perfectly adequate and does a fine job at creating unique passwords in the terminal.
This time around, as we accomplish the very same task, we’ll be using a tool known as makepasswd. When you install makepasswd you’ll see that it has some small dependencies involving encryption and randomness. That makes some sense when you see how makepasswd is described on the man page.
makepasswd – generate and/or encrypt passwords
We’ll be doing that first bit – that is generating passwords.
You will need an open terminal to follow along in this next section. You can also use your graphical software installer, assuming you have one. To open your terminal, you can usually just press
With your terminal now open, choose the right command for your distro:
Debian/Ubuntu/etc:
1 | sudo apt install makepasswd |
OpenSUSE/SUSE/etc:
1 | sudo zypper install makepasswd |
Arch/Manjaro/etc:
1 | sudo pacman -S makepasswd |
RHEL/CentOS/etc:
1 | sudo yum install makepasswd |
You’ll find that makepasswd is available for other distros, but I’m not sure of the installation commands and don’t want to steer you wrong. As it stands, I’m pulling these from my notes and haven’t tested them to ensure the commands are current. If they’re not current, please leave a comment so that I can update them accordingly.
Now that you have makepasswd installed…
Make Passwords In The Linux Terminal:
If you used a GUI tool to install makepasswd, or if you closed the terminal after installing makepasswd, you’ll need to open a terminal. Fortunately, I told you how to do that in the previous section. If you want to use makepasswd to make passwords in the Linux terminal, you will of course need an open Linux terminal.
With the terminal now open, you can check the man page for more information about the makepasswd application. That’s done like so:
1 | man makepasswd |
The application is pretty simple, at least for our needs. If you just want to generate a password that’s 12 characters long, you’d run this command:
1 | makepasswd --chars=12 |
An example output might be something like this:
1 2 | $ makepasswd --chars=12 cwvcKaPiVVrX |
If you want to use certain characters, you can use the --string flag. So, if you wanted to generate a 12 character password with just numbers, you’d use a command that looks like this:
1 | makepasswd --chars=12 --string='1234567890' |
An example output might be something like this:
1 2 | $ makepasswd --chars=12 --string='1234567890' 398686687302 |
So, I suppose, you could even use this as a tool to generate a pseudorandom PIN for your debit card.
1 | makepasswd --chars=4 --string='1234567890' |
If you want to generate a list of passwords so that you can pick the one you like from the list, you can do that as well. That command would look a little bit like the following command:
1 | makepasswd --count=10 --minchars=10 |
For some reason, it seems to only want to output a maximum number of characters in that command and the maximum number is 10. Do not ask me why, but the option is there and the output of that command might look a bit like this:
1 2 3 4 5 6 7 8 9 10 11 | $ makepasswd --count=10 --minchars=10 BQa1CLhgK3 ybuxsIGXKB A7sgcx3R88 i679AThi7J RuBFVHGF0N 0qCQEtq2YI Hm0I25yvWj bxdjtcfeRp sgoM4omWWt gaLfKrdiwT |
You can do quite a bit more with the makepasswd application. As mentioned above, check the man page. You can seed your passwords, you can encrypt them, get the hashed password value, and more. You could even take the above command and output it to a text file called passwords.txt. You’d do that like this:
1 | makepasswd --count=10 --minchars=10 --maxchars=24 > password.txt |
As you can see in that command, I’ve included the --maxchars flag. You can set both the minimum number of characters and the maximum number of characters with the two flags used in the above two commands.
See? You’ll find makepasswd to be a handy way to make passwords in the Linux terminal. There are all sorts of ways to do this. This is just one more way.
Closure:
I wasn’t sure what I’d write when I sat down to write this article. I started it much earlier in the day than I usually would and flipped through all sorts of text files to find an interesting article to write. The first two articles that piqued my writer’s interest were topics I’d previously covered. I eventually settled on makepasswd. After all, you never know when you will want to make passwords in the Linux terminal. It could happen!
Thanks for reading! If you want to help, or if the site has helped you, you can donate, register to help, write an article, or buy inexpensive hosting to start your site. If you scroll down, you can sign up for the newsletter, vote for the article, and comment.