Today’s article is going to tell you how to sort files by time while using the ‘ls’ command in the terminal. I find sorting by time is often easiest when working with a lot of files that have less-than-helpful filenames. For example, it’s nice to sort by time when I’m dealing with screenshots, knowing that I took a new screenshot that’s helpfully named something like ‘kgiii@kgiii-msi: ~-Downloads_032.png’.
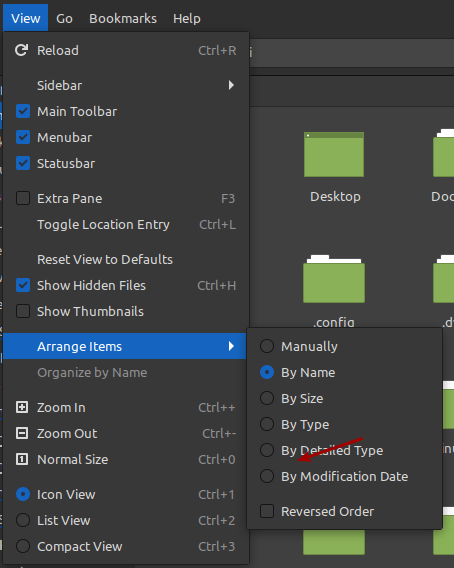
It’s usually easy enough to graphically sort files by time and date. In your file manager, you might need to select list view, add the column, and then select at least one of the time options. Different GUI file managers will have different options, and may not include all possible time values stored in the file’s meta information. Speaking of screenshots, it might look something like this:
The file’s metadata has several time options and we can sort by those with the ‘ls’ command while in the terminal. The output of ‘ls’ is usually sorted alphabetically. It’s not terribly difficult and will help you along your Linux trails. I find it useful when picking among a large number of files.
Today we will learn to use ‘ls’ to sort files by a few time value stored in the file’s meta information. It’s an easy enough process and a handy tool for your growing toolbox of Linux commands.
Sort Files By Time:
Obviously, you’ll need an open terminal. You can do so with your keyboard – just press
Once you have it open, the /home/user directory is a fine choice. We won’t need to change directories – but you can. If you have a lot of screenshots saved in ~/Pictures, then you may find that directory more informative. Either way, let’s start with the basics:
This first one will show the last time the file was modified – which may be the creation date and time. That command is (the -l used in each command means use the long listing output):
1 | ls -lt |
You can sort by access time, sorting by the last time the file was opened. (Yes, this is all part of a file’s metadata.) To do that, you just use:
1 | ls -ltu |
With that done, we have one more. This one shows the last time the metadata was changed for the files listed. If you were to use touch to change the last modified time, this would show when you did that. Make sense?
1 | ls -ltc |
And there you have it! If you want to show the output in reverse order, you just use a -r flag and you can still use the -a flag to show hidden files, should you need to do something like that.
Closure:
That’s about it. You can now sort files by time. It’s a pretty handy tool and one you may find yourself using often. As mentioned above, I find it handiest (with my particular uses) when working with all the screenshots I take. I take a whole lot of screenshots. I assume I take more screenshots than most folks.
Thanks for reading! If you want to help, or if the site has helped you, you can donate, register to help, write an article, or buy inexpensive hosting to start your own site. If you scroll down, you can sign up for the newsletter, vote for the article, and comment.