I think I’ve covered this before with the ls command but this time we’ll count the files in a directory with the find command. This being Linux, you can usually count on there being multiple ways to accomplish something.
There are lots of tools out there that let you visualize disk usage. I’ve covered a bunch of them over the years. You can also count the files in a directory to see if there’s something abnormal going on. You may also have some sort of file limitations that mean you’re limited to a certain number of inodes and thus you need to react accordingly.
This is just one way to count the files in a directory. There are surely a variety of ways and we’re only going to cover counting the files with the ‘find’ command.
In this case, you won’t need to install anything. The find command is a part of the GNU ‘findutils’ and will be included by default in any desktop (or server) you’ll interact with. You’ll also be using the wc command, again something we’ve used in the past, and that too will be installed by default because it is a part of the coreutils.
The find Command:
As I said, you won’t need to install anything to use the find command. You won’t need to install anything at all for this article. You can verify that you have the find command available with this command:
1 | find --version |
We’ll search for files (with the -type f flag) and then count them with the wc command. If you check the man page for find (with man find) you’ll see that find is a good tool for the job.
find – search for files in a directory hierarchy
We will pipe the output from the find command to the wc command to count files in a directory. You’ll see…
The wc Command:
The output from the find command would be a long list of files. Rather than view that list or anything like that, we’ll simply pipe that command to the wc command. You won’t need to install anything and you can verify that the wc command exists with this command:
1 | wc --version |
You can tell right away that this is a fine tool for counting things. Just check the man page (with man wc) and you’ll see this:
wc – print newline, word, and byte counts for each file
So, you can tell right away that this is a great tool for counting things. In our case, we’ll be counting new lines because the output from the find command would be one file per line. See? It just makes sense!
Let’s get to it!
Count The Files In A Directory:
If the above information wasn’t much of a clue, this is something done in the terminal. Regular readers should be expecting this because we do a lot in the terminal. Open up a terminal (you can usually just
The syntax is pretty simple…
1 | find <path> -type f | wc -l |
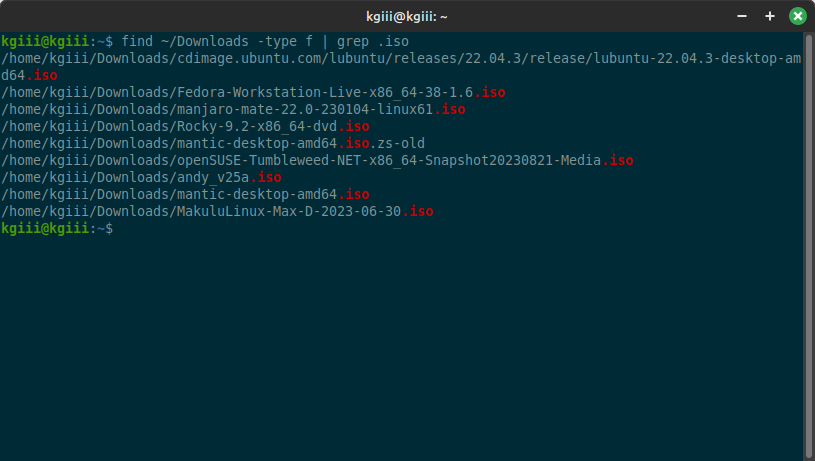
You’re using the “-type f” flag. That outputs a new file on a new line. Try it with this command, if you’d like to see:
1 | find ~/Downloads -type f |
Then, pipe that to the wc command and use the -l flag. The -l flag counts lines, of course. So, each file is on a new line and the wc command counts those new lines instead of displaying them in the terminal.
I do have this in my notes…
If you were to run this against the root “ /” drive, you’d get permission errors. Try this command for example:
1 | find / -type f | wc -l |
Well, you can redirect the output to /dev/null using 2>, like so:
1 | find / -type f 2> /dev/null | wc -l |
I am not sure why that’s in my notes but it is. It strips out the permission-denied responses and that’s about it. You might want to see those so that you know what wasn’t necessarily counted. Of course, you can also run this command with elevated permission via sudo. So, don’t forget that.
Closure:
There you have it… If you want to count the files in a directory you can do that with the find and wc commands. That makes it relatively simple because you won’t need to install anything. This should just work for any Linux system you’re using. That makes it pretty universal and worth remembering.
Thanks for reading! If you want to help, or if the site has helped you, you can donate, register to help, write an article, or buy inexpensive hosting to start your site. If you scroll down, you can sign up for the newsletter, vote for the article, and comment.