Should you use screenFetch or Neofetch? That’s up to you to decide. This article will share some info about both of them. This should be a pretty short article.
I also confess that there’s not much of a “vs.” here. The screenFetch app hasn’t been updated in a long time and Neofetch is the clear winner for most folks. But, well, it seems like people have forgotten that screenfetch exists and that it existed well before neofetch was conceived. That’s why I’ve picked ‘History’ as one of the categories.
See, the thing is, screenfetch (I’m tired of capitalizing the F, and the N, just to be right!) still exists and still works just fine. In some cases, you might get the wrong information from it, especially with newer distros, so why use it? Well, you use it because it shouldn’t be forgotten – and ’cause it still works most of the time.
So, you decide… Screenfetch or neofetch? Or maybe both?
Screenfetch:
The screenfetch application was was created to gather system information so that it could be presented in a screenshot format. In fact, their GitHub page clearly states the purpose as:
Fetches system/theme information in terminal for Linux desktop screenshots.
Though it’s old, it’ll almost certainly be available in your default repositories. Just because it’s old doesn’t mean it isn’t still useful! (Perhaps I’m having some sort of crisis, ’cause I too am old and part of the purpose of this site is to be useful!)
Assuming you’re using a distro with apt, it’s a mere install command away:
1 | sudo apt install screenfetch |
Then, well, you use it. You could just run it with ‘screenfetch’, but you can also actually use the -s switch and create a screenshot of your full screen, making it easy to take and share a picture of your desktop to show others in forums and social media sites.
This is an edited down screenshot, ’cause the rest of my desktop isn’t all that interesting right now.
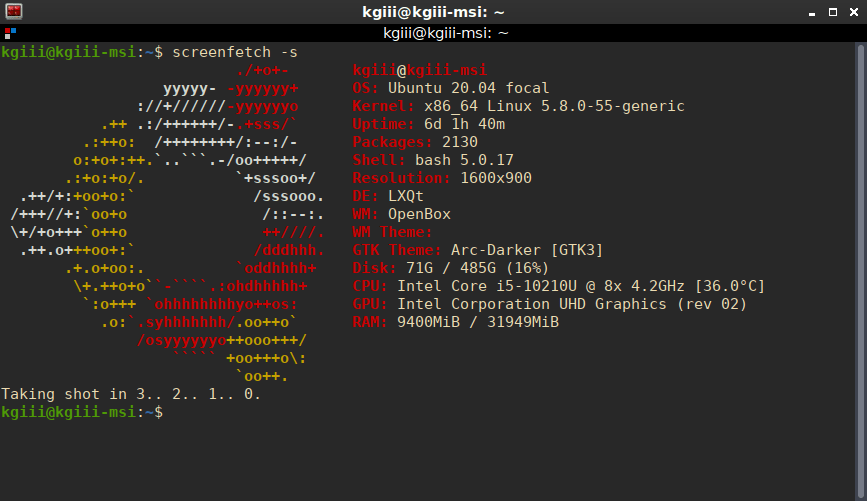
As you can see, that was with the -s switch. It happily generates a screenshot of the entire screen, but I edited it down to just the terminal. There’s nothing interesting on my screen right now. Just a bunch of open windows, largely with text in them.
Screenfetch still works, and I like the ASCII art better. I suppose I could probably customize neofetch to make it do the same thing, but I’m way too lazy for that. Either way, it works – and it works just fine. It still does the task it was designed to do, even without any recent updates.
Neofetch:
Neofetch is newer and probably better in every single way. (Though I do have some issues with it on some systems, as it won’t create its own screenshot! That’s a ‘me’ thing, I suspect.) It’s also familiar to many people, and indeed has been mentioned on this site multiple times.
It gets regular updates and has a ton of options. It’s also able to be highly customized. In pretty much every single way, it’s the superior solution. It’s described by the authors like so:
The overall purpose of Neofetch is to be used in screen-shots of your system. Neofetch shows the information other people want to see. There are other tools available for proper system statistic/diagnostics.
It’s a much newer application. Screenfetch last had a release in 2019, while neofetch had a release just last August (at the time of writing). It should be noted that there have been some commits at the screenfetch repository, but they’ve not yet been released. The project isn’t dead. It just isn’t as active as neofetch.
Again, it’s easy to install. It’s in the default repositories for most any distro out there, at least the major ones. There are some distros that include it by default, including Lubuntu! Again, assuming you’re using a distro with the apt package manager, it’s installed just like screenfetch:
1 | sudo apt install neofetch |
And, like screenfetch, you can just run it as ‘neofetch’. However, check the man page for it and you’ll see there are a ton of other options. It’s seriously highly configurable. It looks like this:
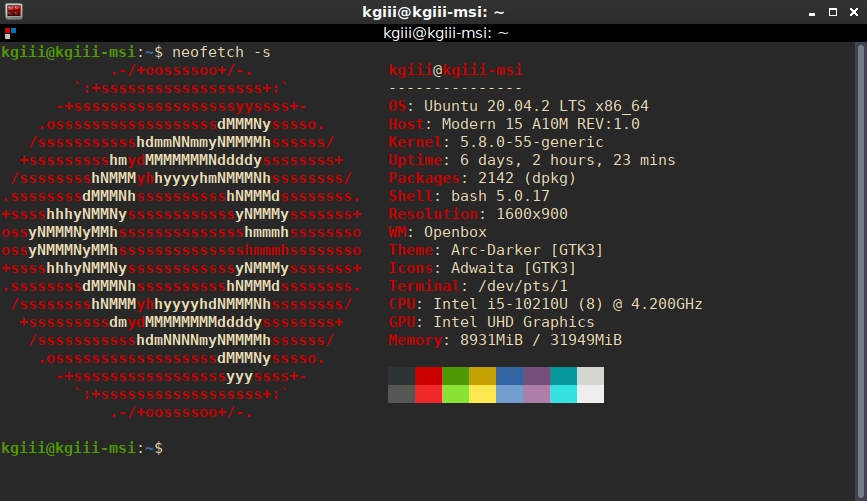
For whatever reason, on that system the neofetch doesn’t seem to want to take a screenshot. I’m probably missing scrot or something like that. I’m too lazy to figure it out, but it’ll likely work just fine on your system. It’s a great way to gather a bunch of presentable information about your system, with the end goal being to show it to other people.
So, is neofetch the one for you? Is it really any better?
Screenfetch or Neofetch:
Sure, there hasn’t been a screenfetch release in a long time – but there’s sure to be one eventually. There’s activity in the repository at GitHub. That’s usually an indicator that there’s still more to come. I wouldn’t count it out and it’s pretty much feature complete.
Neofetch? Well, it’s much newer and has more consistent releases lately. It’s also highly configurable. You’ll be able to customize it all you want. You’re encouraged to edit ~/.config/neofetch/config all you want, making neofetch your own. It’s also a mature application, with a large install base and likely also feature complete.
Either one works. They do spit out different information. If you examine both screenshots above, you’ll see the data output is different. Not gonna lie, I ain’t gotta clue why they’re different. The areas where they’re different are trivial and I’ve made no effort to find out which is correct.
What? It’s a blog. I have finite time for these things, you know! 😊
You can decide between screenfetch or neofetch – or you can use both. They’re both very similar and neither should be used for anything all that serious. They spit out some system information in a form that’s convenient for screenshots so that you can show off your system to your forum friends.
Closure:
Here’s another article in the books. It’s not really about a ‘vs’ anything, but the title seemed appropriate. It’s a good time to expose some of the newer Linux users to the venerable screenfetch tool, as choice is always a good thing.
Thanks for reading! If you want to help, or if the site has helped you, you can donate, register to help, write an article, or buy inexpensive hosting to start your own site. If you scroll down, you can sign up for the newsletter, vote for the article, and comment.