In today’s article, we’re going to learn how to check if a specific port is open. The command is simple, but versatile. It’s also pretty quick to check and see if a port is open. Read on, as I try to make it easy!
From a security standpoint, it’s a good idea to identify what ports are open, and what function those open ports have. From a usability standpoint, it’s good to know which ports are open so that you can connect to the device.
I suppose, as a general rule, you could probably assign ports to do all sorts of things. However, it’s actually standardized (in many cases) and specific ports will be open for specific things.
You may have found yourself using different ports. If you owned a website, then the address to your control panel might be something like https://example.com:9000 or similar. Your server will have open ports for other things, like port 80 for HTTP or port 22 for SSH.
If you are curious, you can click this link to learn more about standard ports. If you’re new to the concept, then that link might actually help explain things better than I can. We do rely on standardized port numbers quite a bit.
When you’re browsing the regular web, you’re not necessarily aware but you’re using the site’s port 80 to get the public-facing web data. While you could host your site on a different port, it’d take some configuration changes on the back end. I suppose you could just do some work with htaccess if that was your goal, but it’s a pretty pointless goal.
Check If A Specific Port Is Open:
You should think of open ports as public information! They’re not secrets. It’s easy to find open ports, so you’ll need to secure them properly. It’s a good idea to know what traffic is happening on what port, as ports are open for a reason.
For example, there’s no security lost if I point out this site’s running on a server with port 80 open. Of course it’s open. That’s how you browse it. There are ways to hide your open ports, but that’s beyond the scope of this article. This article is just going to show you how to check if a specific port is open.
Like much of the time, you will need to have an open terminal. Of course, if you want to open your default terminal emulator, just press
With your terminal open, you can just use ‘localhost‘ to test your own computer. For example, you might have an open port 80 or port 22 for SSH. So, to check those, your commands would look like:
1 2 | nc -zv localhost 22 nc -zv localhost 80 |
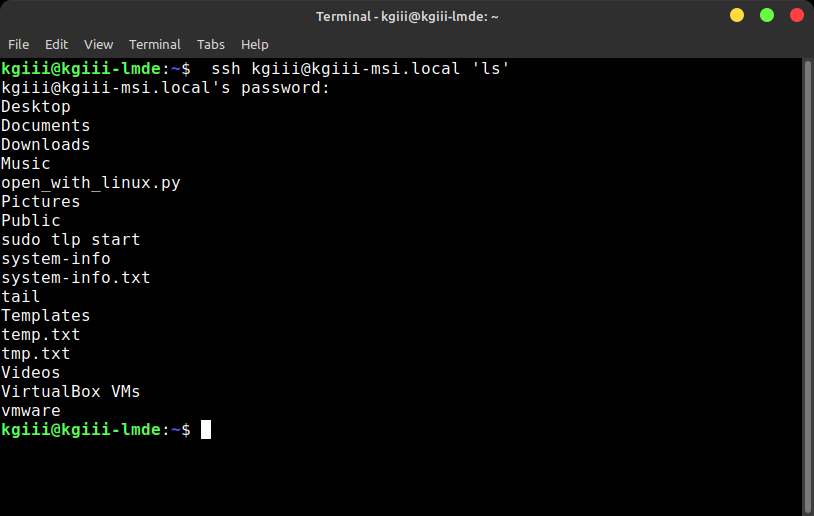
You can also check remote servers. You can even check those on your network by using their IP address or their hostname. You’re familiar with my usage of ‘kgiii-msi.local‘, so we’ll use that.
1 2 | nc -zv kgiii-msi.local 22 nc -zv kgiii-msi.local 80 |
That also works with this site and other sites on the internet. Just use the fully qualified domain name (FQDN) instead of an IP address. As an example, try the following command:
1 | nc -zv linux-tips.us 80 |
See? You have now confirmed that this site has port 80 open. Congratulations, you’re a 1337 h4X0R! But, now you can check if a specific port is open, a valuable skill to have.
By the way, if the command appears to stop and not give you a result, press
Closure:
Again, this article has shown you how to check if a specific port is open. An open port doesn’t mean anything bad, necessarily. The command you’re using in this article will also try to tell you what traffic is expected on the open port. It looks a little something like this:

Of course, that’s just http traffic, so try running the following command to see where you’re getting the https (secure) content:
1 | nc -zv linux-tips.us 443 |
That’ll show you that not only is the port open, but that that port (443) is used for https traffic, which is really what the site uses for you the reader. I obviously have https configured, updated, and properly implemented. I want you to have a secure connection, as secure a connection as you want.
Anyhow, this is getting to be a long postscript… This is turning into a fairly long article. We’ll see how many people read past the ‘CLOSURE:’ text!
Think of ports like doors. Just because it’s open doesn’t mean you can go in and help yourself. Also, it’s not polite to go around knocking on random doors just to see if they’re open. Feel free to check this site, as I’m confident about the security.
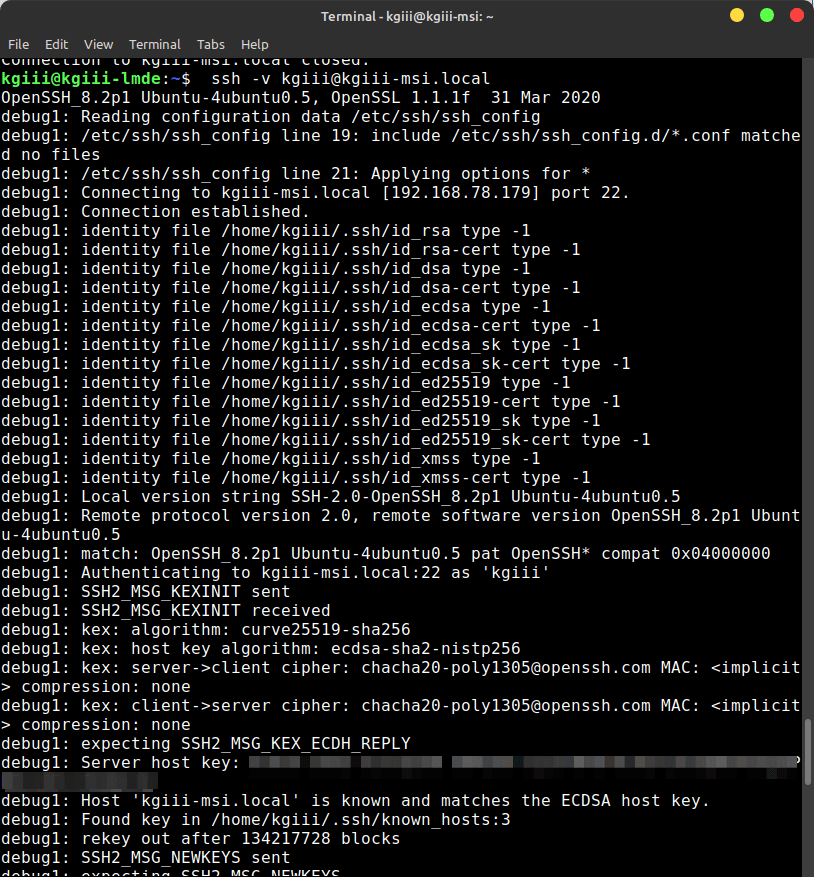
Well, I hope you’ve learned how to check if a specific port is open. This seemed like a good thing to share. It’s also useful if you want to SSH into a remote computer and need to make sure the port is open as one of your debugging steps! (See?!? All the articles can be SSH articles!)
Thanks for reading! If you want to help, or if the site has helped you, you can donate, register to help, write an article, or buy inexpensive hosting to start your own site. If you scroll down, you can sign up for the newsletter, vote for the article, and comment.