In the last article, I explained how to enable SSH. In today’s article, we’re going to learn how to forward GUI application windows with SSH. x11 forwarding is easy and beneficial. Once you learn how, you may decide to stop using VNC or TeamViewer.
Just to quickly clear up a misconception, x11 forwarding works just fine with Wayland. Way back in the earliest days of Wayland development, it was agreed that it should retain backwards compatibility with x11 forwarding.
What is this strange thing, this x11 forwarding?
Well, when you’re connected to another computer via SSH you can use the terminal to control the computer. That’s great, but what if you want to use a GUI application? Sure, you could set up some sort of remote desktop application, such as VNC. Or, alternatively, and often more simply, you can just forward graphic applications over SSH. It’s remarkably easy!
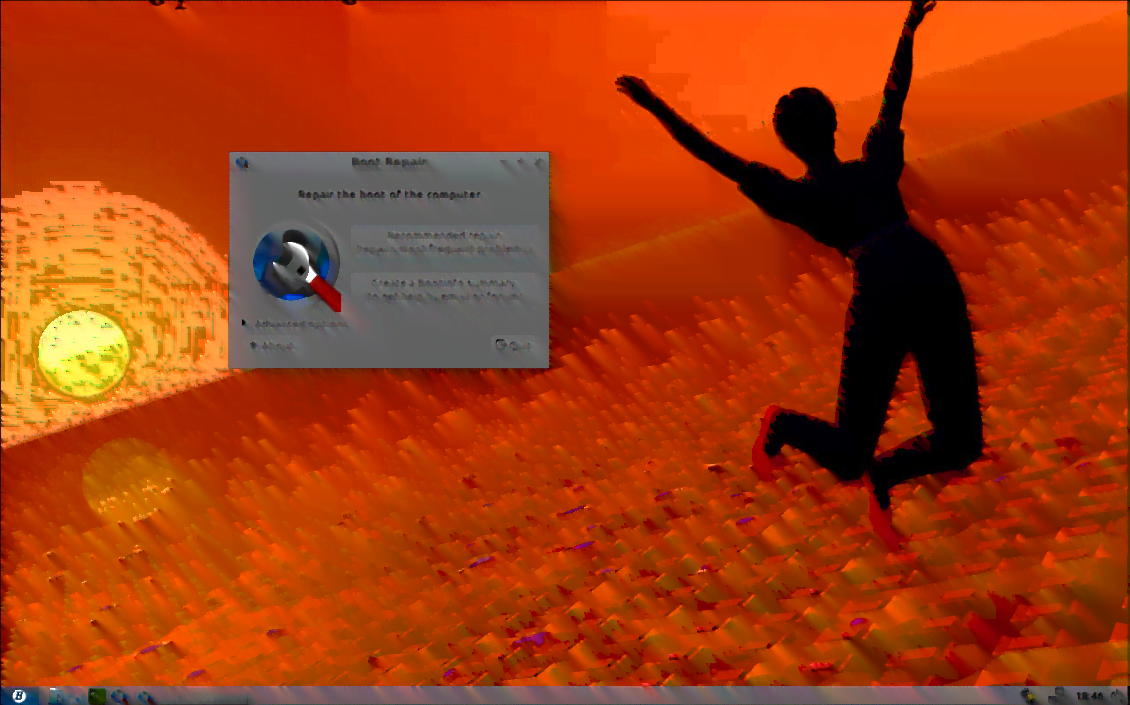
Perhaps a picture is in order. Check this:
That’s right. That’s GEdit running on my laptop. I’ve just forwarded the GUI application to this computer. If I write something and save it, it’d be saved on the computer that I’m connected to and not the computer that I’m using.
Amusingly, I used this exact process just recently. I had to move a complex password to my laptop and I was being lazy. So, I opened GEdit remotely and pasted in my password, transferring my new password to the other device. See? It comes in handier than you might think.
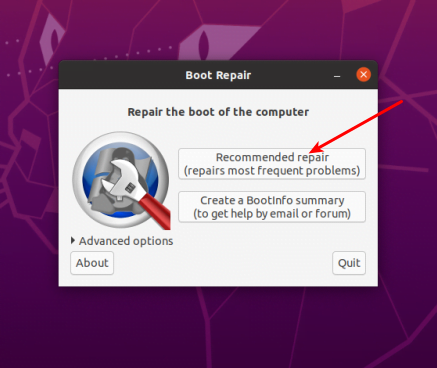
Let’s Enable x11 Forwarding:
How do you do this? Well, first you need to crack open your terminal. To do that, you just press
Now, in said terminal, you need to run the following command:
1 | sudo nano /etc/ssh/sshd_config |
Once you have that file opened with nano, you just need to remove the appropriate pound sign (“uncomment” it out) for the right line. Look for the line that says:
1 | #X11Forwarding yes |
And change it to:
1 | X11Forwarding yes |
Then save the file with nano by pressing
Next up, you’ll restart the SSH service and be done with it:
1 | systemctl restart sshd |
And that’s it! You can now use x11 forwarding over SSH. To do so, you just need to add the -X switch. That’s not as complicated as you might think. Nothing in this article is all that difficult.
1 | ssh user@host_name.local -X |
To try to make sense of that above command, if I were to remotely connect to the MSI laptop, then my command would look just like:
1 | ssh kgiii@kgiii-msi.local -X |
You can also use the IP address, instead of the hostname, just like we discussed in the previous article about SSH. To do that, it looks like this:
1 | ssh user@ip_address -X |
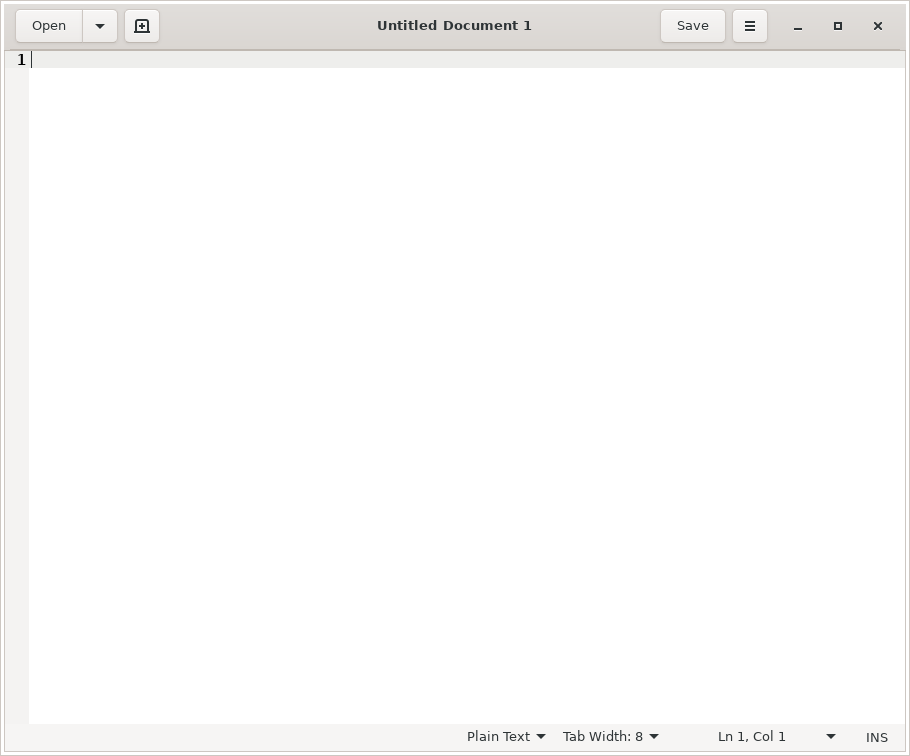
x11 Forwarding in Action:
Once you’re there, just go ahead and start an application. For example, open gedit by typing just that into the terminal. You may find some applications won’t work, often due to ownership and permissions issues, but you’ll find many that work just fine. If you find one that doesn’t work, you can always check any errors thrown and go from there.
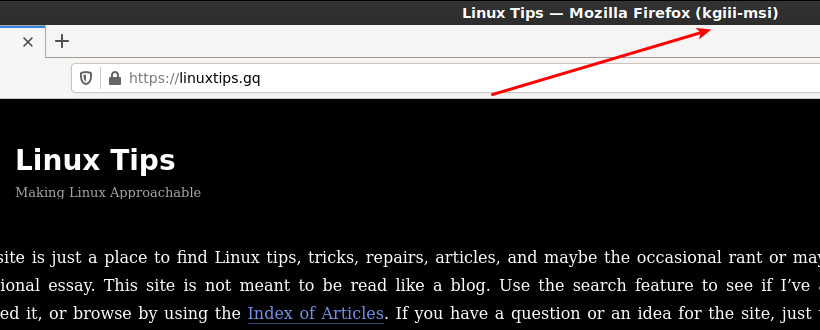
That’s an example of Firefox forwarded over SSH using x11 forwarding and you may notice the washed out look. I haven’t really dug into it, but I am reasonably confident that washed out look is because of compression. I’ve never needed to dig into that and, amazingly enough, I don’t know everything.
Conclusion:
Anyhow, there you have it. One more article in the books and one more bit of knowledge plastered across the internet. Thanks for reading! If you want to help, you can donate, you can share the site on social media, you can vote to show what type of articles you enjoy, and sign up for the newsletter. You can even buy inexpensive hosting and start your own site while supporting this site or write your own article!