This article is going to apply to those who use the Terminator terminal emulator and want to take a terminal screenshot in Terminator. That means it applies to maybe three of you. You’re welcome.
There are a zillion and three terminal emulators.
Yes, they’re terminal emulators. They, in some form or another, mimic the look and behavior of terminals. Terminals were used on old consoles and were how you interacted with things like mainframes.
Now, you still have terminals available. If you press
By the way, if you press
I don’t want you getting lost and unable to get back to the desktop, after all.
I’ve mentioned Terminator before:
It’s Time To Introduce You To The Terminator!
This is one of my favorite terminal emulators! I use it all the time. Because I have it with a weird theme, I don’t often use it for screenshots. I should because you can take screenshots with a built-in plugin! It’s remarkably simple.
Did I mention that Terminator supports plugins? If I didn’t, well, it does!
If you want, this is a far from complete list of Terminator Plugins.
If you search online, you will find more Terminator plugins that you can use to make your terminal-based computing even easier. What you pick is up to you but one of my favorites is one that you don’t even have to work for. It’s something that should be available by default in all Terminator installs. If it’s not available, your distro chose to package Terminator without plugins.
Terminator:
The name is as awesome as it implies and it will likely be available in any distro you choose to run as your daily driver. If you check the man page, you’ll see this:
Terminator – Multiple GNOME terminals in one window
That’s just the start of it. Also, while it’s ‘for’ GNOME doesn’t mean that it doesn’t work just fine with other desktop environments. It suits them just fine and I’ve yet to find a desktop environment that doesn’t allow me to use Terminator.
It’s a multi-windowed (if you want, and I do not) terminal with a ton of options. More importantly, for the sake of this article, it also supports plugins.
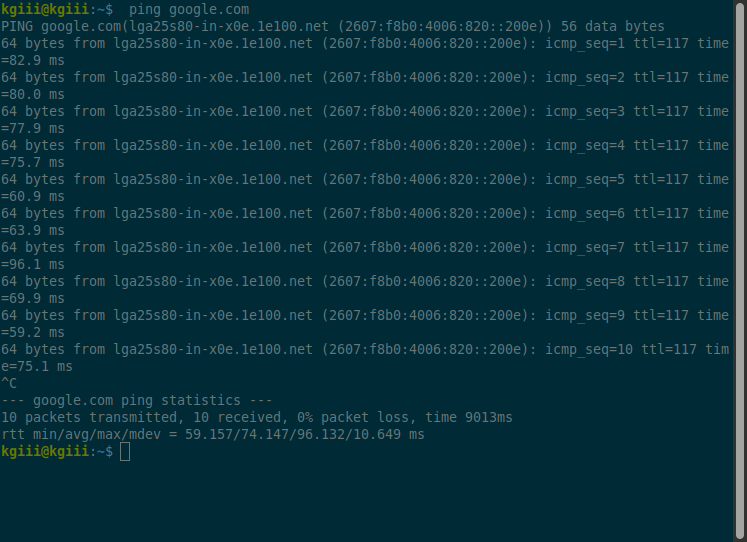
One of those plugins lets me take screenshots that look like this:
So, how is this done? What is this witchcraft?
Take A Terminal Screenshot In Terminator:
Terminator is a terminal-based application. It is a terminal emulator, after all. So, it’s going to require a terminal. You can install Terminator with your GUI package manager or you can install it via the terminal. You know what we’ll be doing, so press
I’m going to assume that you’re not like me and that you don’t have Terminator already installed. So, pick the right command for your package manager so that you can install Terminator.
Keep in mind that these commands are from my notes. They might be old or outdated. Be sure to verify them and let me know if I made any mistakes!
Debian/Ubuntu/etc:
1 | sudo apt install terminator |
Fedora/etc:
1 | sudo dnf install terminator |
RHEL/CentOS:
1 2 | sudo yum install epel-release sudo yum install terminator |
Arch/Manjaro/etc:
1 | sudo pacman -S terminator |
One of those commands should work for you. If you use a different package manager, you’ll likely find that Terminator is an option. It’s a pretty popular terminal.
Now that you have Terminator installed, you can set it as the default (if you want) or you can open it from your application menu.
With Terminator now open, right-click within the terminal menu and click on the Preferences option to continue…
Now, click on Plugins and enable “TerminalShot”, which looks like this:
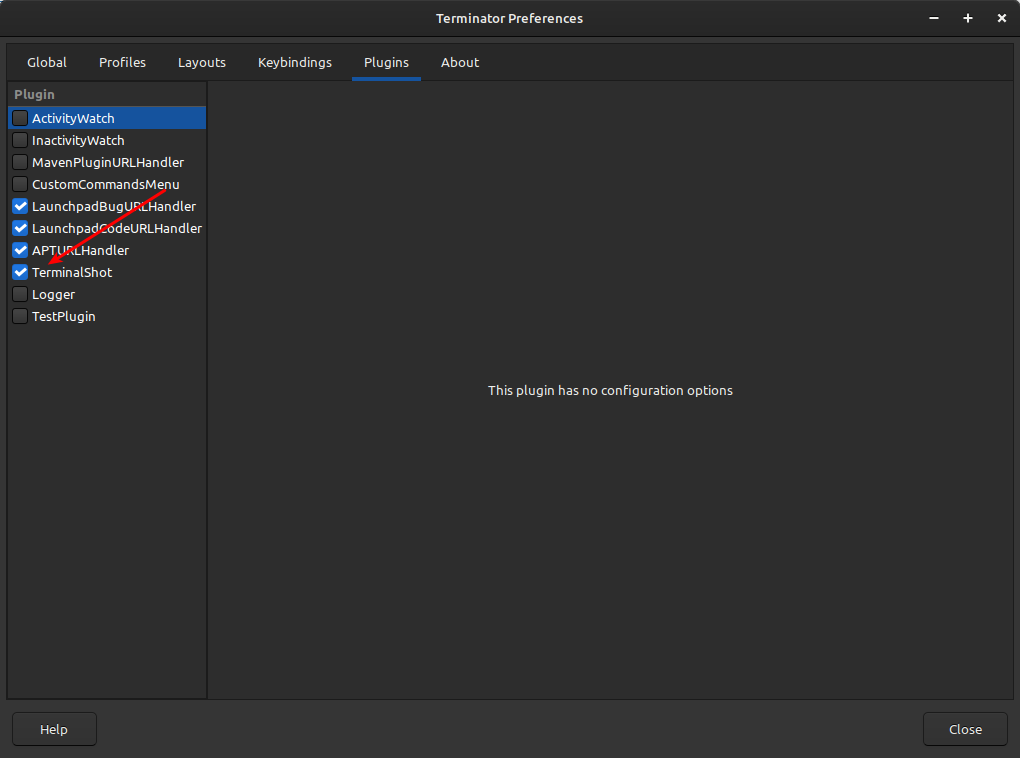
With that enabled, you just close the preferences window.
From there, you have this as an option when you right-click on the window:
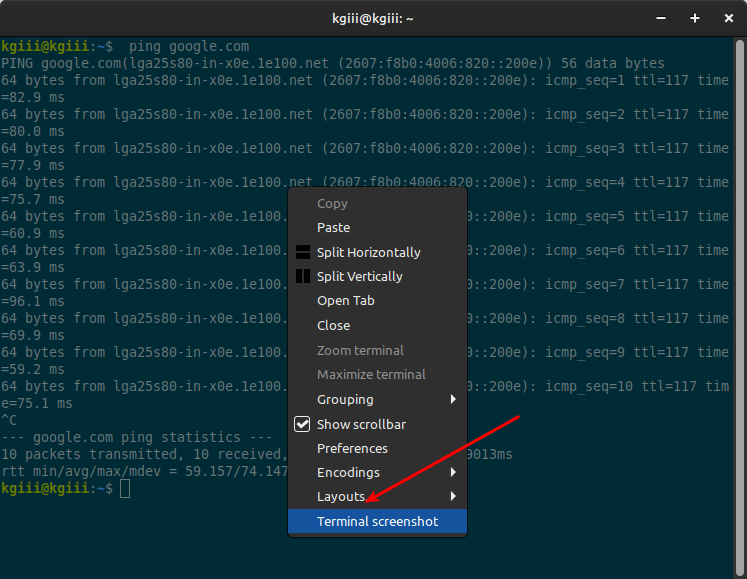
You’ll then be faced with a screen that looks like this:
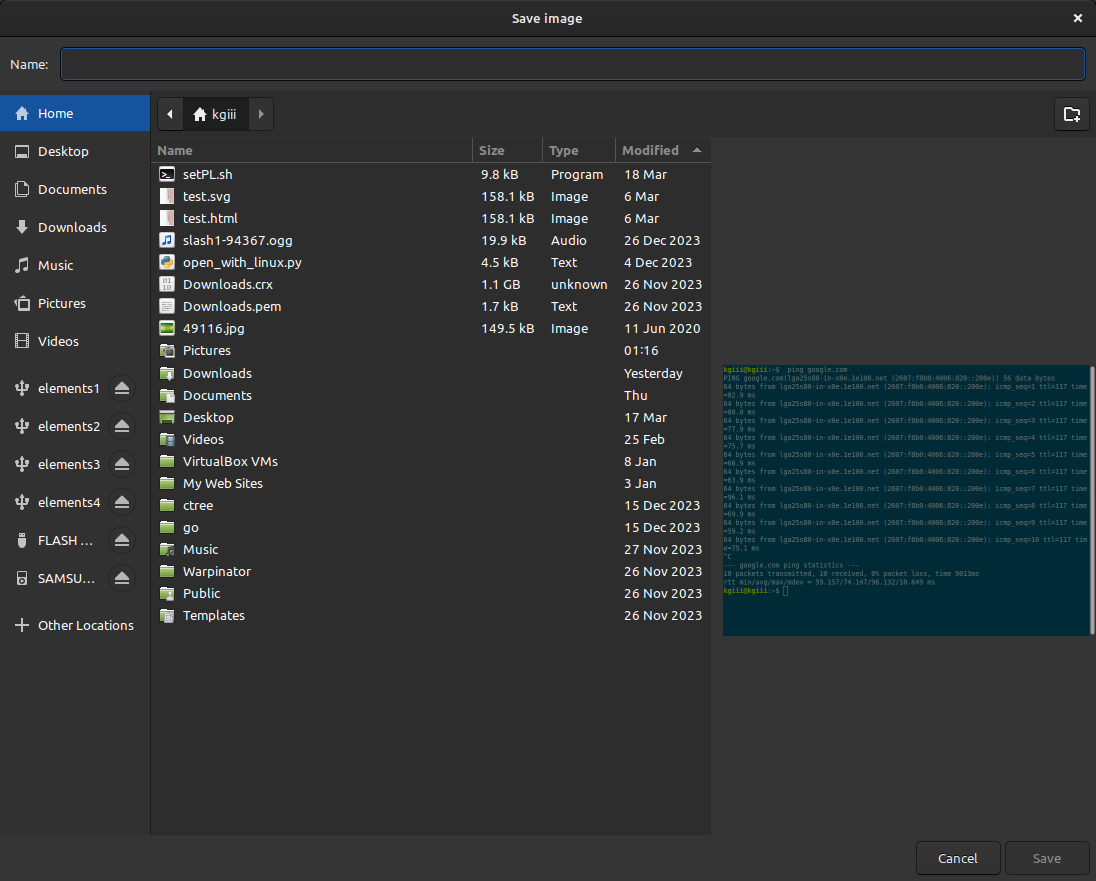
That’s pretty obvious. What might not be obvious is that it seems to work for both .png and .jpg file formats. I’ve had good luck with both and both seem to open appropriately. I seldom use these screenshots for this site, but I have and the reason I don’t is because the color just doesn’t look good with the site’s theme. Sometimes it stands out but other times it just looks murky.
Anyhow, that’s how to take a terminal screenshot in Terminator… Pretty sweet!
Closure:
You know… I don’t know how many people are going to want to take a terminal screenshot in Terminator. I forgot to take my sleepy meds and this is the middle of the night. I’ve also been sipping away at my glass of blueberry wine. It seemed like a perfectly good article.
I was watching YouTube videos and I thought about how I do this fairly often and decided that I’d turn it into an article. There were no dissenting opinions offered, so it was turned into an article. Fortunately, I use software that makes it look like I can type coherent words! (Nah, I can do that no matter what! Plus, I’m relatively sober, just tired.)
So, if you’ve ever used Terminator, look into the various plugins available. It extends the application even more and there are some useful things in there. Terminator is one of the best terminal emulators on the planet and I’d consider dying on this hill. It’s really that good.
If you don’t agree, leave a comment. I won’t change my mind, but I will publish it. You’re welcome.
Thanks for reading! If you want to help, or if the site has helped you, you can donate, register to help, write an article, or buy inexpensive hosting to start your site. If you scroll down, you can sign up for the newsletter, vote for the article, and comment.