Many of us rely on a wireless connection for our connectivity and this is for those who want to learn about your wireless connection. It should be a relatively simple article. Though, if you do not use wireless internet this won’t be very interesting.
Today’s article about your wireless connection will show you how to learn things like the quality of your connection, the transmission power, the frequency you’re using, and other sundry wireless bits. It’s a bit technical, and we will learn about your wireless connection in the terminal, but it’s all good information and not very complicated.
The tools we’ll be using should be installed in all current major distros. For example, we won’t use ifconfig because it is deprecated. We’ll be using the ip command instead. We’ll also be using iwconfig in this article. You shouldn’t need to install anything for this article. All the tools you need should be installed by default.
Side note: The site sure does load fast without ads! I’ll be finding a new ad provider soon enough, I just haven’t done so yet. I may appeal to Google. We shall see, but the site sure is fast! Alas, it generates no income to offset my expenses. So, we will have ads again. It’s going to happen.
As for the tools we’ll be using…
The IP Command:
The first tool we’ll use will be the ip command. As I mentioned above, the ifconfig tool has been deprecated. It is no longer supported and we’ve moved on to bigger and better things. Most major distros will have made this change. For a bit of completeness sake, I’ll include details for the old way.
You can verify that the ip command is available with this command:
1 | which ip |
If you check the man page, with man ip command, you’ll see that this is the correct tool for the job. The job is what was indicated in the article’s title. Anyhow, the ip command is described like this:
ip – show / manipulate routing, network devices, interfaces and tunnels
We’ll be using the command to identify the name of your wireless connection. It’s easy enough and you can easily follow along.
The IWCONFIG Command:
The iwconfig command is how we’ll be gathering information about your wireless connection. You should find that you don’t have to install anything for this. If you’re using a major distro that’s modern, you’ll almost certainly have iwconfig available. You can confirm that iwconfig is available with this command:
1 | which iwconfig |
Just like we did above, you can run the man iwconfig command to see that this is the tool for the job. The output should include the following:
1 | iwconfig - configure a wireless network interface |
In our case, we won’t be doing any configuration – but we will be using this command to learn about the wireless connection. It’s a handy tool, but we’ll just be using it to gather data.
So, let’s get into the actual article itself…
Learn About Your Wireless Connection:
I mentioned above that this is something you do in the terminal. You probably know how to open your terminal by now. If not, you can usually press
With your terminal now open, you can check your network connections. The purpose of this command is to learn which of your connection names is the correct one for your wireless connection.
1 | ip addr |
If you’re using an older system, and some modern systems still contain the command, you can use the deprecated ifconfig like so:
1 | ifconfig -a |
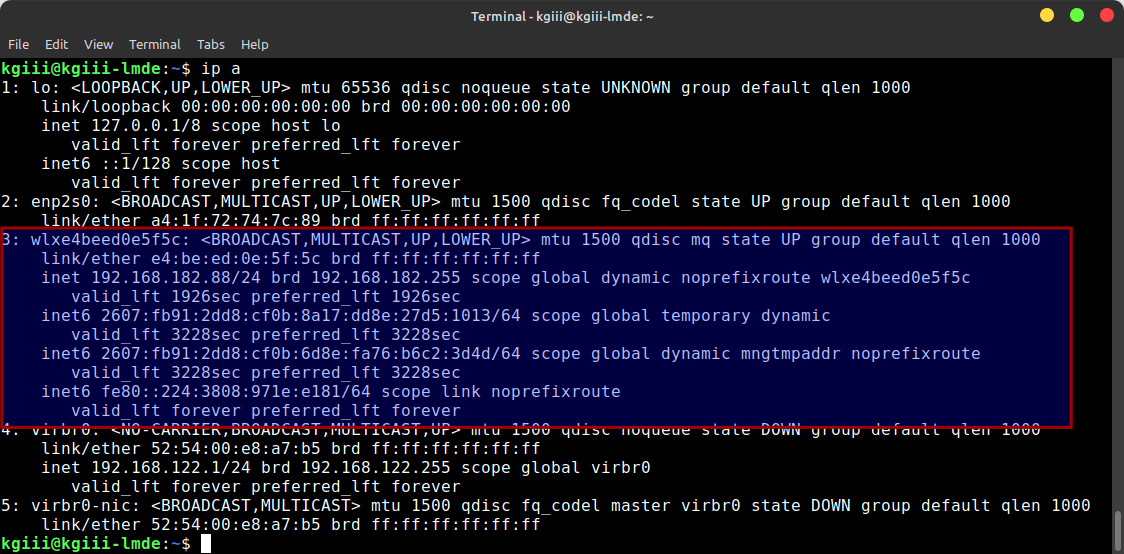
Scroll through that data to find your wireless connection. It’ll begin with a W. It used to have a nice simple name by default, but times have changed. In my case, it looks like this:
1 2 3 4 5 6 7 8 9 10 11 12 13 14 | 3: wlxe4beed0e5f5c: <BROADCAST,MULTICAST,UP,LOWER_UP> mtu 1500 qdisc mq state UP group default qlen 1000 link/ether e4:be:ed:0e:5f:5c brd ff:ff:ff:ff:ff:ff inet 192.168.140.88/24 brd 192.168.140.255 scope global dynamic noprefixroute wlxe4beed0e5f5c valid_lft 2849sec preferred_lft 2849sec inet6 2607:fb91:2d04:390:b86f:80f:7f91:599f/64 scope global temporary dynamic valid_lft 3479sec preferred_lft 3479sec inet6 2607:fb91:2d04:390:4fd9:2f95:22fb:45bd/64 scope global dynamic mngtmpaddr noprefixroute valid_lft 3479sec preferred_lft 3479sec inet6 2607:fb91:d0c:c01a:5c3:8025:85e9:4e58/64 scope global temporary deprecated dynamic valid_lft 2919sec preferred_lft 0sec inet6 2607:fb91:d0c:c01a:f01c:84d6:20cd:8c1c/64 scope global deprecated dynamic mngtmpaddr noprefixroute valid_lft 2919sec preferred_lft 0sec inet6 fe80::5709:dd6f:4c23:edf0/64 scope link noprefixroute valid_lft forever preferred_lft forever |
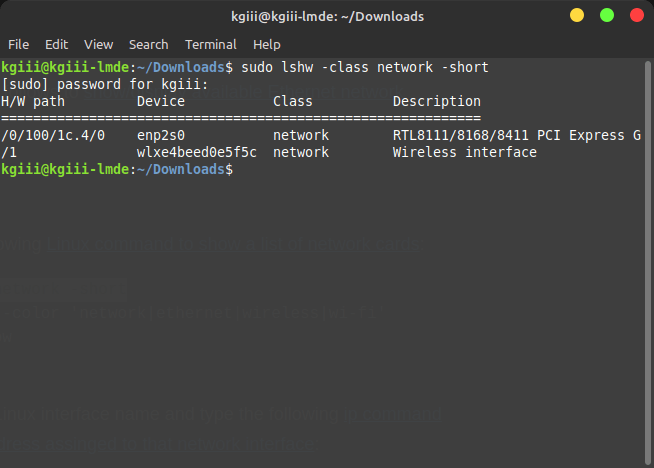
In this case, you can see that the name of my wireless device is wlxe4beed0e5f5c. Unless you’ve renamed them, your wireless connection should start with a W and should be the only connection that starts with a W.
With that information in hand, you’ll next want to learn about your wireless connection with the iwconfig command. The syntax is quite simple:
1 | iwconfig <wireless_device_name> |
So, in my case, the command would look like this:
1 | iwconfig wlxe4beed0e5f5c |
The output would look like this (in my case):
1 2 3 4 5 6 7 8 9 | $ iwconfig wlxe4beed0e5f5c wlxe4beed0e5f5c IEEE 802.11 ESSID:"cellphone" Mode:Managed Frequency:2.412 GHz Access Point: 66:5D:38:82:8A:FF Bit Rate=72.2 Mb/s Tx-Power=20 dBm Retry short limit:7 RTS thr=2347 B Fragment thr:off Power Management:off Link Quality=48/70 Signal level=-62 dBm Rx invalid nwid:0 Rx invalid crypt:0 Rx invalid frag:0 Tx excessive retries:0 Invalid misc:81583 Missed beacon:0 |
From there, you can see the access point you’re connected to. You can find out the bit rate, frequency, and power management status of the device, and much more. See? Pretty easy.
HINT: If you don’t want all that information, you can always pipe it through grep. That’s pretty simple:
1 | iwconfig wlxe4beed0e5f5c | grep level |
An example output would be:
1 2 | $ iwconfig wlxe4beed0e5f5c | grep level Link Quality=63/70 Signal level=-47 dBm |
This is a quick and easy way to learn about your wireless connection. It’s something that’s not too difficult and something everyone can practice to get a little bit more comfortable working in the Linux terminal.
Closure:
Someone asked if I was running out of ideas for articles. I do not believe I am. There’s just so much to write about and so many things that are worth covering. Today we’re learning about your wireless connection. Tomorrow we’ll be on to something else. And that’s okay…
Thanks for reading! If you want to help, or if the site has helped you, you can donate, register to help, write an article, or buy inexpensive hosting to start your site. If you scroll down, you can sign up for the newsletter, vote for the article, and comment.


