This article might seem like it has been written before but this is an entirely new way to view disk usage. To write this article I had to write two other articles. Tell me that that doesn’t sound like fun!
So, let’s see here… And, yes, I’m aware that they’re not disks anymore.
Yup. It’s official. There are too many ways to view disk usage in Linux – especially in the terminal. Why am I writing yet another article on the subject of disk usage? Because I can! I love showing how there are many ways to do the same thing in Linux. This is great because you can pick and use your favorite methods.
As for the subject of monitoring disk usage…
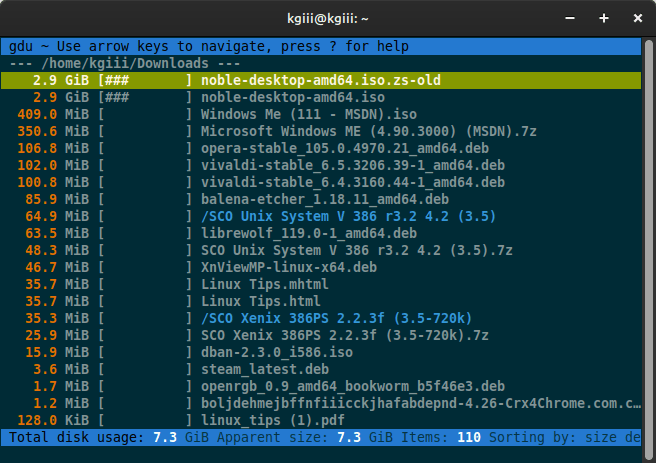
Monitor Disk Usage With GDU
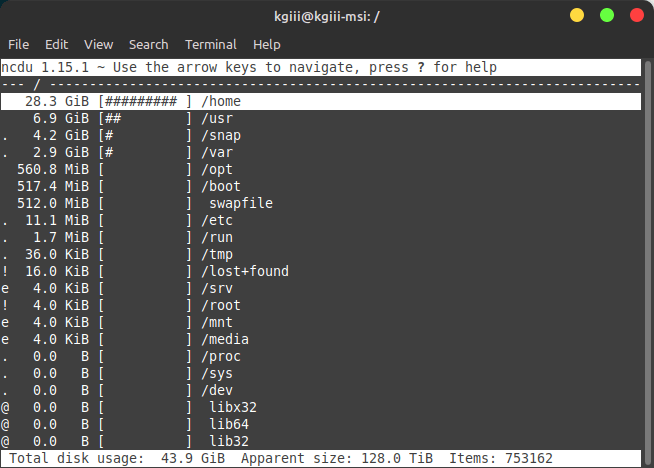
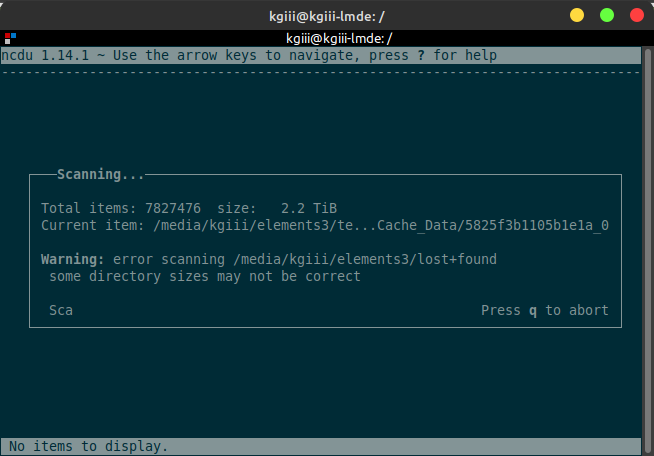
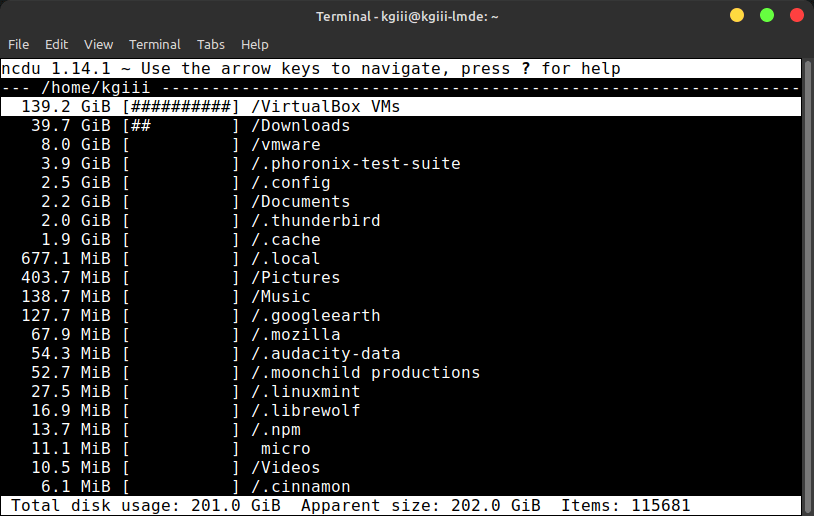
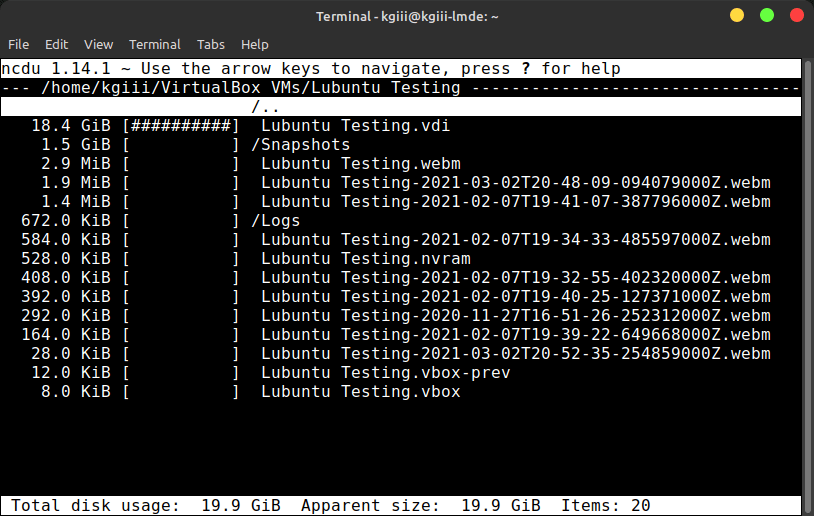
Show Disk Usage With ‘ncdu’
A Few Ways To Visualize Disk Usage In Linux
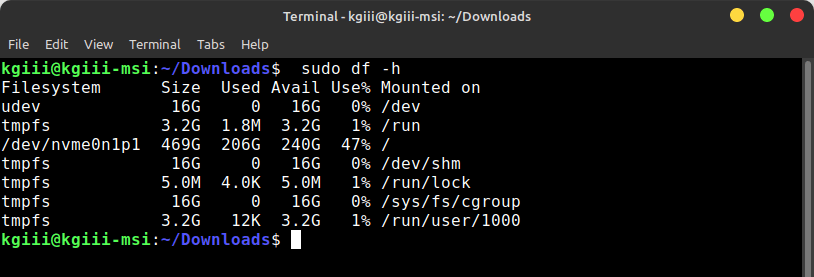
How To: Check Disk Usage With ‘df’
Yet Another Way To Check Filesystem Space Use
Those are just the first five links when I searched for ‘disk usage’. That’s just five ways to check disk usage in Linux. I’m willing to bet that we can easily come up with five more ways to do this.
What’s special about this way of viewing disk usage?
Well, today we’ll be monitoring your drive space with a tool written in Python. You’ll need to enable PIP, a Python packaging tool. Once you’ve done that, this is universal. It will work in any distro that supports PIP – which, as you’ll see, is just about every major distro on the planet.
Read the following before going further:
Install Python’s PIP Part One
Install Python’s PIP Part Two
If you haven’t already installed Python’s PIP, this article will be of no use to you. You’ll need PIP enabled to proceed. You should also add the $PATH as defined in the second article. From here on out, the article will assume you’ve done both of those things.
View Disk Usage With Vizex:
The tool we’ll be using is known as Vizex. You can see the Vizex project page here. If you bother going there, you’ll see that Vizex is indeed the correct tool for the job. You’ll see that this is (one of the many) correct tools for the job.
vizex is the terminal program for the UNIX/Linux systems which helps the user to visualize the disk space usage for every partition and media on the user’s machine. vizex is highly customizable and can fit any user’s taste and preferences.
Hmm… It is at this point that I noticed that they don’t capitalize it. I’m going to capitalize it because it’s keeping the system from saying I didn’t spell it properly.
Anyhow, as you’re using PIP, you’ll need an open terminal. You can use your GUI to open your terminal. On many systems, just press
To install Vizex, run the following command:
1 | pip install vizex |
If you’ve never installed a Python package with PIP before, then be sure to keep an eye on the screen. It’s a fascinating process and watching stuff happen in the terminal is pretty sweet!
Now that you have Vizex installed, you simply run that command in the terminal. If you didn’t follow the 2nd part of the Python PIP article you’ll have to specify the path. That’s just silly. Follow the 2nd article (it’s really easy) and you don’t have to deal with that.
Using Vizex:
Anyhow, that command is simply:
1 | vizex |
It will even color-code your drives. If they’re close to full, they’ll be red and blink (missed in the screenshot below). If you’re moderately full, they’ll be listed in the yellow. I wanted to use Vizex to view a computer will all sorts of drives, so I did! That’s how you ended up with this screenshot:
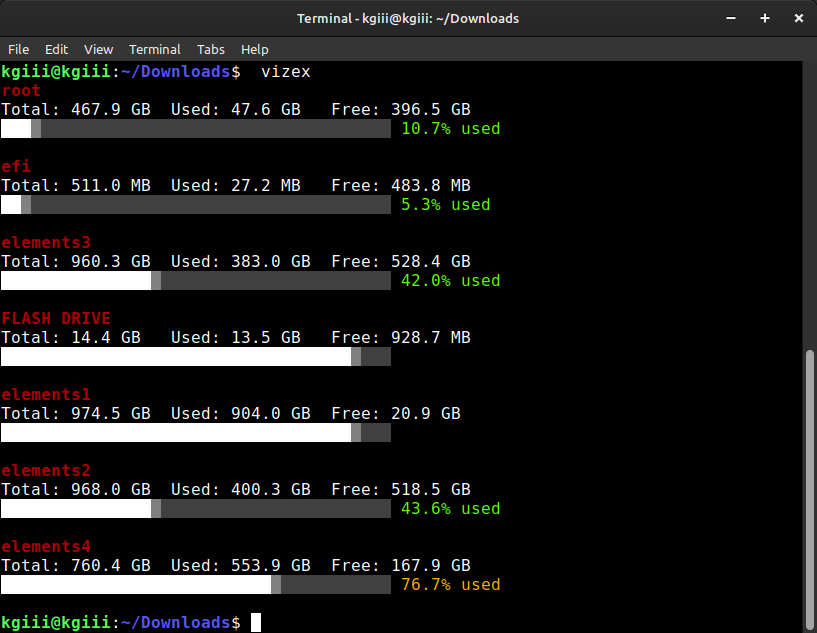
If that isn’t one of the easiest ways to view disk usage, I don’t know what is. This is just one of the many reasons why you should have Python’s PIP installed. There’s a bunch of software that’s available if you just know where to look. It took a while, but I finally got around to sharing this information. In my defense, it did take a couple of articles to share it properly.
Closure:
There are all sorts of ways to view disk usage. This is just another way, though it’s an interesting way. I’m quite sure that I’ll cover this very same subject again in another article. For now, I’ve covered a way to do so with Python and that’s something different than you’ve previously seen on the site.
I may not place ads on the site and just opt to accept sponsored articles as a way to cover the bills. That seems like a good thing to do. Some stuff may already be in the works, so look for that in the future. If you’re interested in sponsoring an article, be sure to hit me up. We get good traffic and rank well in the search engines. So, get some extra traffic and some SEO benefits by sponsoring an article!
Thanks for reading! If you want to help, or if the site has helped you, you can donate, register to help, write an article, or buy inexpensive hosting to start your site. If you scroll down, you can sign up for the newsletter, vote for the article, and comment.