How To: Enable The Root Account in Ubuntu

This will be a quick and easy article, where I explain how to enable the root account in Ubuntu. It’s easy to enable the root account, but you may not want to. The choice is up to you.

This article really starts here, with a pet peeve. See, Ubuntu doesn’t ship with root enabled by default and it does that for security reasons. If there’s no root account, the root account can’t be compromised. Instead, it relies on sudo for elevating permissions. If you ask at some sites, they’ll give you a lecture instead of telling you how to enable root.

Me? I disagree with that. If you want to know how to enable root, I’ll tell you how to enable root. It’ll likely come with a blurb that tells you why you may want to avoid doing so – but I’ll give you the answer to your question.

About the only time I won’t give you a direct answer is when it’s obvious that you’re asking me to do your homework. I may also not tell people how to do their job. After all, I don’t want incompetence entering the workforce and I don’t want incompetent people staying staying in the field.

I view Linux as not just an OS but also as a bit of a philosophy, a philosophy of constant learning, continued improvement, and a never-ending quest for greater understanding. If someone wants to know how to enable root, I’m damned well going to tell them how to enable root.

Yes, it may lessen their security, and I’ll make sure to tell them that as well. I’ll be sure to tell them why Ubuntu made the choice and what it means if they undo it. It’s their system. If they want to enable root, I will help them do that.

Enable Root in Ubuntu:

Having said all of that above, it’s actually really trivial to enable root in Ubuntu. The first thing you’re going to do is open the terminal. Like always, you can use your keyboard, just press CTRL + ALT + T and your default terminal will open up.

Next, you’ll want to enter the following command:

Now, first it’ll ask for your current user’s password. Enter that. When you enter that, it’ll ask you to set a password for ‘root’. You’ll need to enter that password twice. Once you’re done with that, you’re done with it. That’s literally all it takes.

If you want to test this, you can login as root in TTY. Press CTRL + ALT + F3 and login as root, using the password you just assigned. To get back to your desktop, just press CTRL + ALT + F1 and it should bring you right back. If not, or if you’re not using Ubuntu, you can press and hold the left ALT button and then press the until you’re back at your desktop.

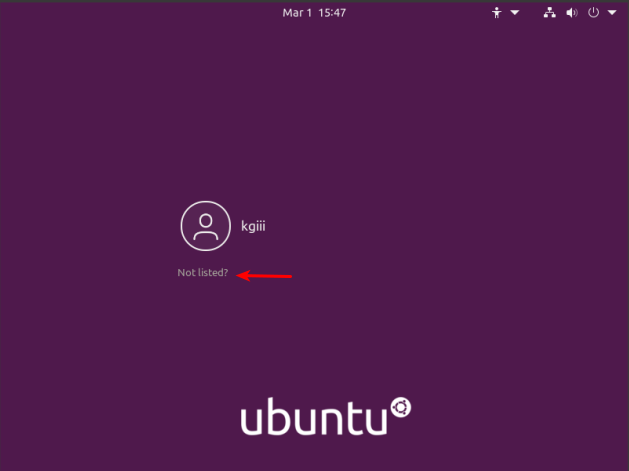
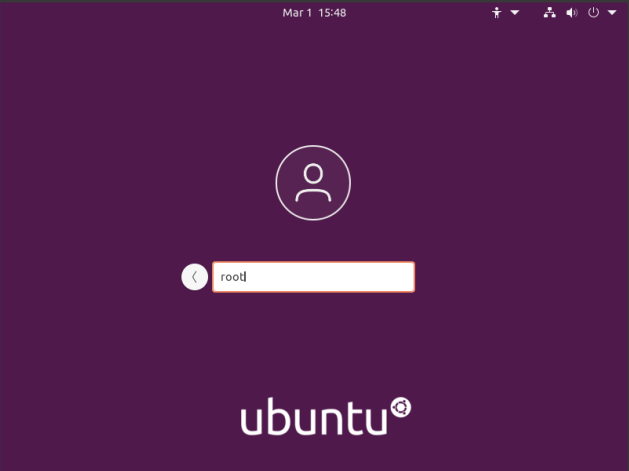
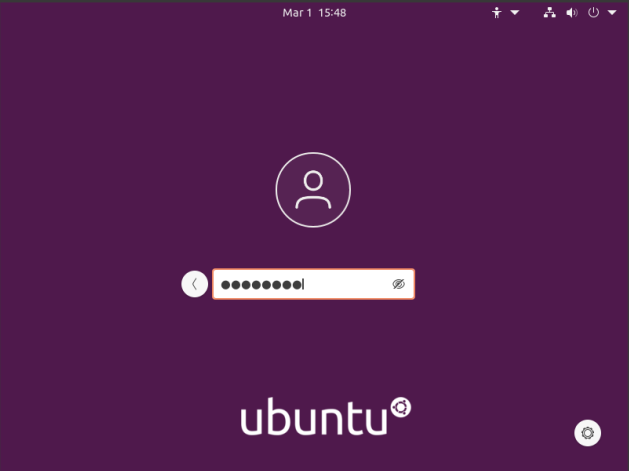
NOTE: This won’t enable GUI login as root. I’ll explain how to do that in a future article. This only enables the root account and nothing more.

If you do enable root, be aware that that means the root account can be compromised and used. Root has all the permissions. All of ’em… So, if the root account is compromised whoever has done so has complete control of the system. You should be aware of this before you make this change. Only make this change if you know what you’re doing and if you’re prepared for the consequences.

Closure:

And there you have it. You have another article in the books, this one explaining how to enable the root account. Think twice before doing so, but it’s your device and you get to make that decision. Just be aware of the consequences of doing so and you should be all set.

Thanks for reading! If you want to help, or if the site has helped you, you can donate, register to help, write an article, or buy inexpensive hosting to start your own site. If you scroll down, you can sign up for the newsletter, vote for the article, and comment.

How To: Create a New User Without a /home Directory

There are legit reasons to create a new user without a /home directory. Maybe you want a new user to have limited access to just a few things, or a dedicated user that runs a single application. This article will show you how.

See, I was reading a forum post on Linux.org about a member that had set up a bunch of Linux computers for some learning children. One of the things that came up was that the kids were already trying to guess the password so that they could install games. 

That got me thinking about some security implications. What if they guessed the password and wanted to hide it? What if they used that password to create a new user, but one without a /home directory so that it wouldn’t be easily spotted by just using a file manager? It wouldn’t be impossible to find, but it’d not stand out immediately with a quick inspection. Besides, the new account’s password would remain the same even if the admin changed the password to the root account.

Well, if they get that advanced and guess that password, I kinda hope they read this article! Why? Because the world needs a little chaos and creativity! So, my fellow Linux.org forum user, this article is for you! Well, no… It’s for when the kids use a search engine to learn how to make a user account a little less obvious! 

Create a New User Without /home:

This one will be short and easy, perfect for budding Linux users! There are two easy ways to create a user without automatically making a /home folder. 

Both ways are done in the terminal, so you need to open it. To open the default terminal, use your keyboard and press CTRL + ALT + T.

Now, the first method is:

The second method is:

Those commands will both make a new user without a /home directory of their own. (Be sure to check ‘man useradd’ for more awesome things you can do.)

There are a couple more steps you can take, if you want. First, there’s no password assigned to the user you just created. So, let’s assign a password to them.

Follow the prompts to type in the password twice and you’re done with that step.

Next, the newly created user isn’t a member of sudoers – meaning it has no administrative rights. That’s easily fixed with the following command:

That command will make the new user a member of the sudoers group. Meaning they have administrative rights over the system. They can install software, remove software, delete files, create files, or even update the entire system.

The admin can still discover the new user by listing the users or poking around in the logs. However, the user won’t stand out immediately. There won’t be any new user folder in /home, so one may not have any reason to look. Additionally, changing the root password won’t matter. You’ll have to do something about the user they created.

And that, kids, is how you get started hiding stuff after you’ve discovered the root password! Use that account for your nefarious activities! You’re welcome!

Closure:

Nah, there are legit reasons why you’d want a user without a home folder. You may want that user to only access a limited set of applications or whatever. A keen admin would likely notice this fairly rapidly, so it’s not a great long-term strategy for hiding your game installing.

Thanks for reading! If you want to help, or if the site has helped you, you can donate, register to help, write an article, or buy inexpensive hosting to start your own site. If you scroll down, you can sign up for the newsletter, vote for the article, and comment.
What You Need To Know About Linux’s Magic SysRq Key

The magic SysRq key can help you deal with a frozen and unresponsive system. It avoids doing a hard reboot along with, hopefully, avoiding potential loss of data. The SysRq key is actually a handy bit of knowledge to keep handy.

NOTE: The information in this article is for those who use the QWERTY keyboard. If you use Dvorak, AZERTY, etc., be sure to click the link in the opening paragraph because it will be different for you.

There are times when your system appears frozen but it actually isn’t. You can test this situation with the Shift Lock key. If the light (assuming you have one) comes on, the system isn’t technically frozen – it’s probably just not accepting inputs. But, if it’s so far gone that the light doesn’t change then it’s possible that this will not work.

There are all sorts of reasons why your system may appear to have halted. This article has nothing to do with that, nor is it about preventing a frozen session. It’s about using the magic SysRq key to get out of a situation where your system has stopped responding. 

The purpose, at least as far as this article is concerned, is to reboot without corrupting your data. This gives you a tidier reboot that reduces the risk of data loss. It’s quick and easy to learn and memorize.

The SysRq Key:

Look at your keyboard. Look carefully. The key we’re looking for is the ‘SysRq‘ key. You may not know why it is there, and may think it has no purpose, but it’s there and there for a reason.

The key is often doubled with the PrtScr (print screen) and doesn’t get used often. It’s used in combination with the Alt. If you’re using a keyboard with an Fn, you don’t normally need to use it to perform this keyboard function. Look around your keyboard and you should find the SysRq key. It’s bound to be there somewhere!

What you’re going to learn and is ‘REISUB’. This is easy to remember, because it’s ‘BUSIER’ backwards. When your computer is no longer responding, press (and hold) Alt, while holding SysRq, and then press R E I S U B in order shut everything down properly and reboot without (or with less chance of) data loss.

You can try it right now. However, you’re going to reboot if you do so. Leave about a second between each keypress.

You don’t actually need to use all the letters. If you give zero poops about data loss, you can go straight to Alt + SysRq +​ B​. But, that’s not giving the system the chance to perform all the shutdown processes.

If you want to (hopefully) not lose data, use REISUB. This is what those letters do:

R puts keyboard in raw mode.
E sends SIGTERM (except init).
I sends SIGKILL (except init).
S syncs mounted filesystems.
U (read-only) remount of mounted filesystems.
B reboots the system immediately.

Those should reboot the system for you, after sending all the other commands. Again, it’s easily remembered as being ‘BUSIER’ backwards and you should press them immediately after one another, allowing a second between each.

Closure:

This makes yet another article in the books, and now you know how to reboot your system when it is frozen. The magic SysRq key works well enough, even though there are some situations where it won’t work. A computer can be so frozen that it’s no longer accepting any input at all. It works well up until you’ve reached that point.

Thanks for reading! If you want to help, or if the site has helped you, you can donate, register to help, write an article, or buy inexpensive hosting to start your own site. If you scroll down, you can sign up for the newsletter, vote for the article, and comment.

How To: Rename Your Network Adapters in Ubuntu

For whimsy, or for whatever reasons you dream up, you may want to rename your network adapters in Linux. Well, you can. This article will explain how to rename your network adapters, from perhaps eth0 to whatever you want.

I can only be certain that this works in current Ubuntu LTS – 20.04, I didn’t test with any other distros. It’s pretty safe to assume that it will work with most distros out there.

Notably, I am just pulling this from my notes. I forgot why this is in my notes and I really can’t think of too many reasons why you’d need to rename your network adapters. Still, there’s at least one person who needed to know this information, else it’d probably have not been in my notes. It’ll almost certainly work with Debian, Mint, Pop!_OS, and others in that family of operating systems.

This article should be fairly short and will suggest the use of ‘inxi‘. As this article is based around Ubuntu, you can go ahead and install it with:

It’s a lightweight application that spits out a ton of information. I think it should be installed by default, but not all distros do. If you’re trying this with a non-Ubuntu distro, and one without apt, just adjust the installation method for your package management system. It’s almost certainly in your default repositories.

Rename Your Network Adapters:

The first thing you’re going to need to do is open your terminal. If you just installed inxi, you may well have your terminal already open. If not, you can open it with your keyboard. Just press CTRL + ALT + T and it should pop right open.

Once you have the terminal open, we’re going to use ‘inxi’ to get some information. The command you’re looking for is:

Specifically, you’re looking for the networking section. It should look a little something like this picture:

network information
Note the arrows. You need those two pieces of information.

You’re looking for the name of the adapter and the MAC address. You’ll want both of those bits of information, so you might as well keep that terminal open and open up another one. That’ll be easiest, as you can then just copy and paste the data in the next step.

Now, you need to create and edit a file. We can more or less do this with a single step. In the 2nd terminal, use this command:

Once that is open, you want to add some text to it. This is the template:

Now, to use that template, you insert the MAC address that you got from the inxi command where you see <mac_address>.

The <device_name> is a bit more tricky. It’s usually the first three letters – and don’t forget to leave the asterisk there. So, if you use my image above, you’ll see it’s wlo1. To change it, you’d just use ‘wlo*’. If it’s ‘eth0’ for your network adapter then you’d change it to ‘eth*’ being careful in all instances to keep the asterisk.

The last field to change is the name. You can stick anything you want in that field. So, for me, the command will look like this:

Yes, yes I really did name it booger. I’m pretty much a giant five year old.

When you’re done, save it. Just press CTRL + X, then Y, and then ENTER to save it with nano. As it’s creating a new file, it may ask if you want to create said file and you should (of course) say yes.

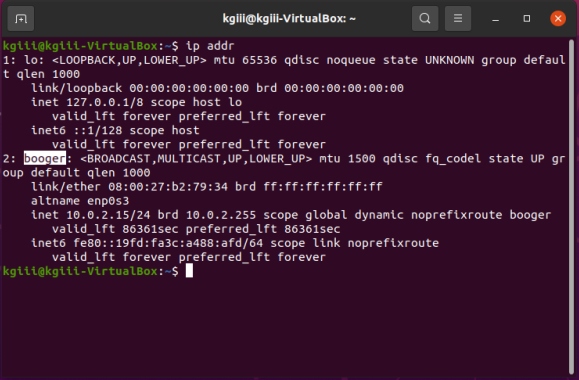
That’s it! Just reboot and you should see that you managed to successfully rename your network adapter. If it doesn’t work, double-check to make sure you got the device name and MAC address correct and reboot again. Done successfully, it looks like this:

renamed network adapter
Yes, yes I really did name it ‘booger’ – but only in a virtual machine.

See? It works!

Closure:

Again, I’ve only tested it in Ubuntu – so it’ll likely work with any Ubuntu derivative, should work for Debian, and will probably work with any other mainstream distro. I forget why it was in my notes, but I’m sure it was useful for someone. Maybe they just needed a name they could recall a bit easier, perhaps for their wireless connection and they wanted to connect to it in the terminal instead of keeping it always connected? I dunno… It was in my notes, it’s now online.

Either way, there’s another article. Thanks for reading! If you want to help, you can donate, register, write an article, or buy cheap hosting. When you scroll down, you can comment, vote for the article, or sign up for the newsletter. Should you sign up for the newsletter, I won’t share your information with anyone else and I won’t send you any spam.

Linux Tips
Creative Commons License
This work is licensed under a Creative Commons Attribution 4.0 International License.