In today’s article, we’re going to learn how to show disk usage with ‘ncdu’. It’ll be a fun terminal exercise that lets you see your disk usage. I’d say this is on par with a beginner article, ’cause it’s just some simple terminal commands. So, do read on!
If you think ‘ncdu’ sounds familiar, it may be from a previous article. You should probably read the intro to that article, as it will save you some time and is reasonably informative.
How To: Find Large Files Using ‘ncdu’
We’ll be using that same tool, but we’ll be using it in a different manner. That article explains what ‘ncdu’ is. In short, it stands NCurses Disk Usage and it’s a handy enough tool. It describes itself as:
ncdu – NCurses Disk Usage
There are a few ways to use ‘ncdu’ and we’ll be using it to show disk usage in this article. Because you have that handy link up there, I’m going to skip some sections of this article.
Show Disk Usage With ‘ncdu’:
This article requires an open terminal, like many other articles on this site. If you don’t know how to open the terminal, you can do so with your keyboard – just press
First, you’re going to need to install ‘ncdu’. Rather than duplicate work, please visit this article. Scroll down and you’ll see how to install ‘ncdu’.
See? All these previous articles sure make some future articles easier.
Anyhow, now that you have ‘ncdu’ installed, just navigate to the root directory run ‘ncdu’ from the there.
1 | cd / && ncdu |
Depending on how much disk space you have attached to your system at the time, it could take a while to run. Let it run and eventually you’ll end up with a screen like this:
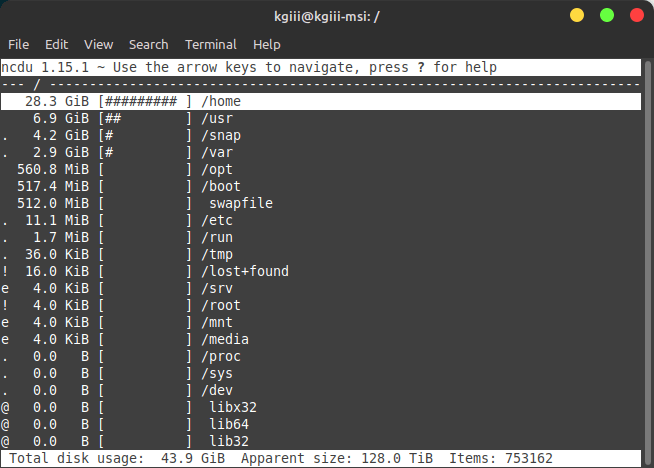
As you can see, the first line is highlighted. Well, use the arrow keys to move up and down. Then, use the left and right arrow keys to move back and forth. To keep it simple, if you want to dig deeper, just navigate to the directory you’re curious about and run ‘ncdu’ in that directory.
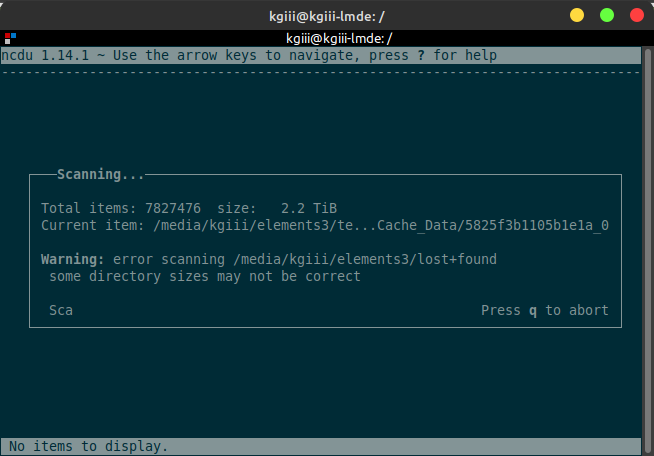
Hmm… I probably should have timed it. I set ‘ncdu’ running on a desktop with a couple of internal disks and attached to an external disk with a whole lot of files on it. It’s like an 8 TB disk and the system is still trying to process that bad boy.
Anyhow, read the man page:
1 | man ncdu |
There’s more to be done with ‘ncdu’ when you want to explore disk usage. It can take a minute or ten to run, but the information is worth it.
Closure:
There you have it, a fairly short article that explains how to show disk usage with ‘ncdu’. It seemed like a good article to write and it was nice having already covered so much of it. That saves some time and I was a bit late in writing this one.
Thanks for reading! If you want to help, or if the site has helped you, you can donate, register to help, write an article, or buy inexpensive hosting to start your own site. If you scroll down, you can sign up for the newsletter, vote for the article, and comment.